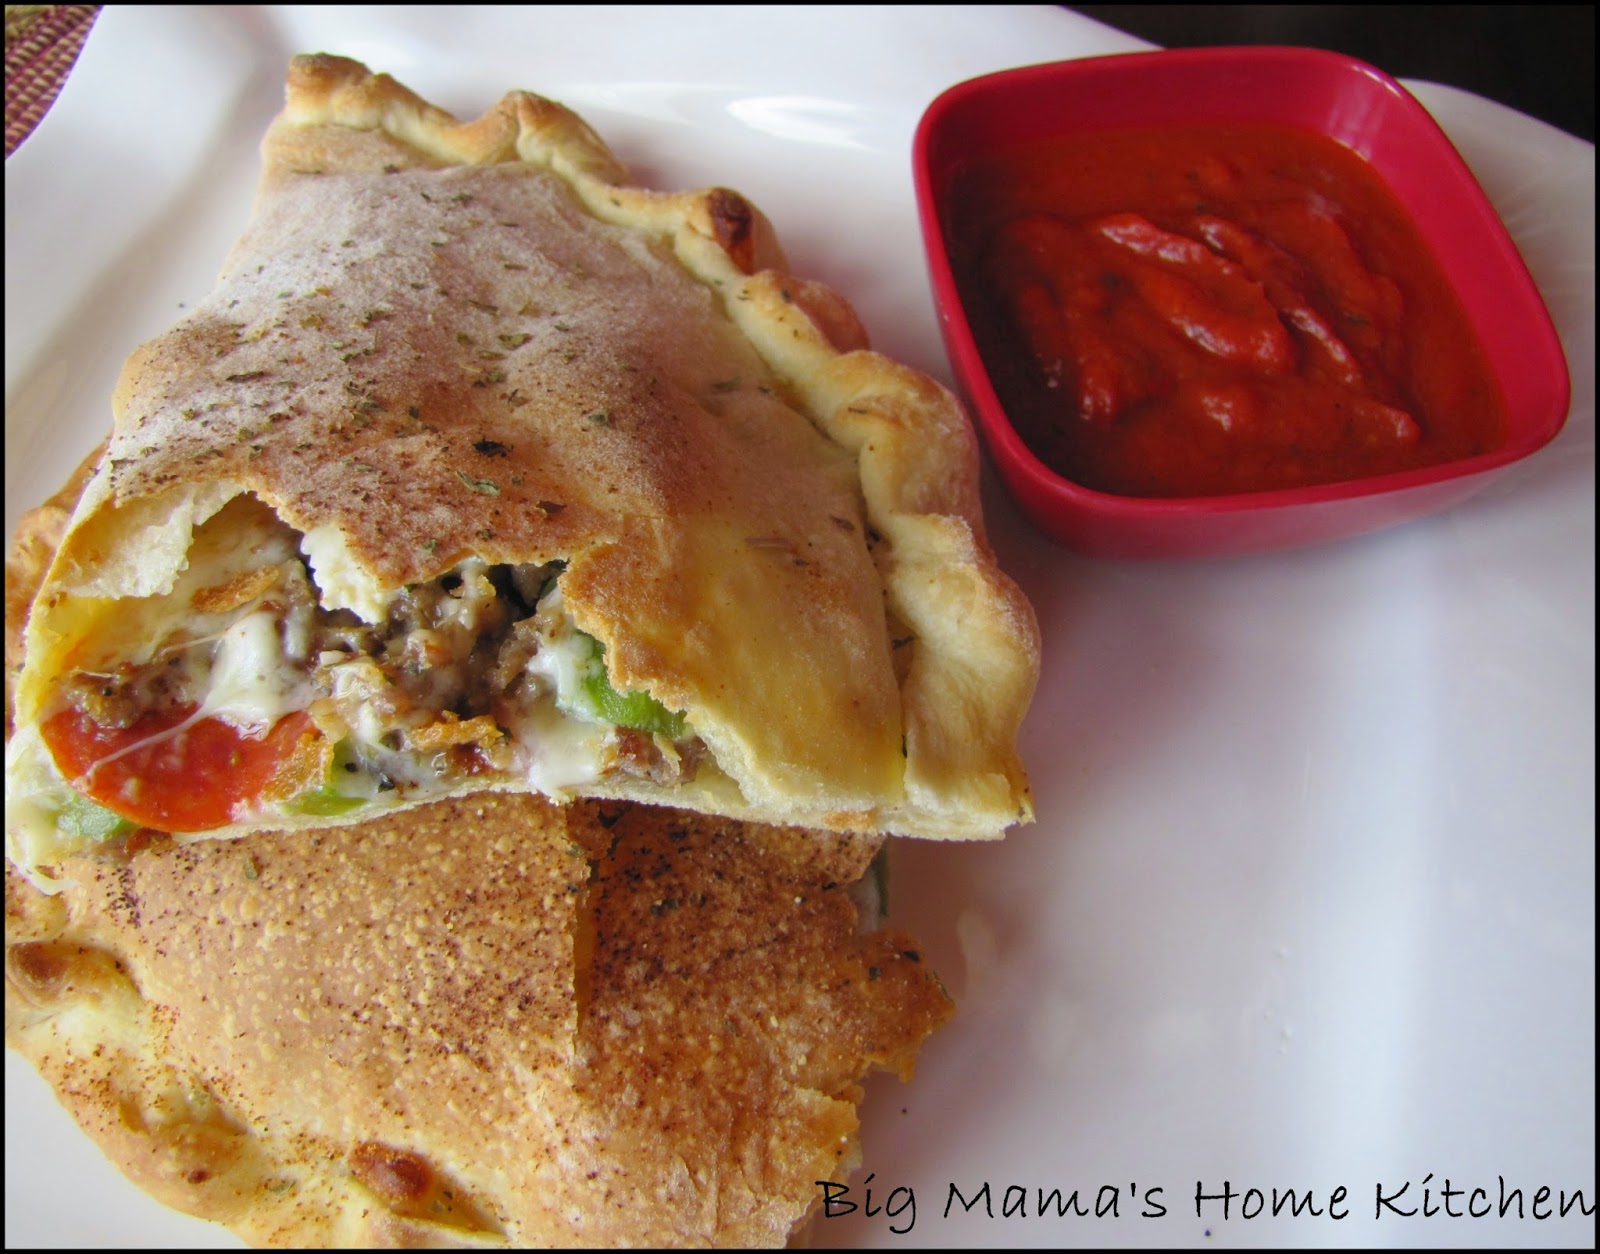
Calzones are a favorite quick to go meal from our local Italian restaurant. We call in the order and hubby picks it up. We get to pick our favorite toppings that are stuffed inside pizza crust. A side of marinara for dipping completes it. This is my first time making calzones at home. It was just like making pizza and fun for the kids. These would also be fun to make mini and serve as appetizers.
I used the recipe for pizza dough from The Pioneer Woman's Cookbook. I added some extra seasonings and used a little whole wheat flour, and it turned out perfect. This will be my new pizza dough recipe from now on.
Pizza Dough:
1 1/2 cups warm water
1 tsp active dry yeast
1 tsp sugar
4 cups all purpose flour (can also substitute 1/4 cup whole wheat for white flour)
1 tsp kosher salt
1 tsp Italian seasoning
1/4 tsp garlic powder
1/3 cup olive oil, plus more for oiling bowl
In a small glass bowl, add the warm water and sprinkle in the yeast. Let sit for 5 minutes. Add the sugar and stir.
In a large stand mixer with the dough hook attachment, add flour, salt, Italian seasoning, and garlic powder. Turn on low to mix in spices. Slowly drizzle in the olive oil. Add the water/yeast mixture and mix on medium speed. Let the mixer kneed the dough until it becomes smooth and elastic, about 5 minutes.
Drizzle some olive oil into large glass or metal bowl and use your hand to rub all around bottom and sides. Form the dough into a ball, add it to the oiled bowl, and turn to oil on all sides. Cover with a damp kitchen towel or tightly with plastic wrap and place in a warm area until doubled in size, about 1-2 hours.
Preheat oven to 450 degrees. Sprinkle some corn meal onto a large pizza pan or baking sheet.
To make calzones, pinch off a piece of pizza dough and roll into a ball. Spread flour on a work surface and roll dough out into a large circle, being careful not to roll too thin.
Set out all your toppings, and let your family pile them up on their individual calzone. Place toppings on 1/2 of the dough, leaving a 1/2 inch border.
The toppings we used this time were:
mozzarella cheese
ricotta cheese
pepperoni
canadian bacon
cooked Italian sausage
green peppers
red onions
jalapenos
Fold the empty side of pizza dough over the toppings. Roll the edges up and pinch together to seal, using your fingers like you would for a pie crust. Sprinkle top with Italian seasoning and garlic powder, if desired.
Use a spatula to transfer to prepared baking sheet. You can even use a paring knife to carve your initials into the top so they don't get mixed up.
Bake for 12 minutes, or until crust is lightly browned. Serve with a side of marinara for dipping. Enjoy!
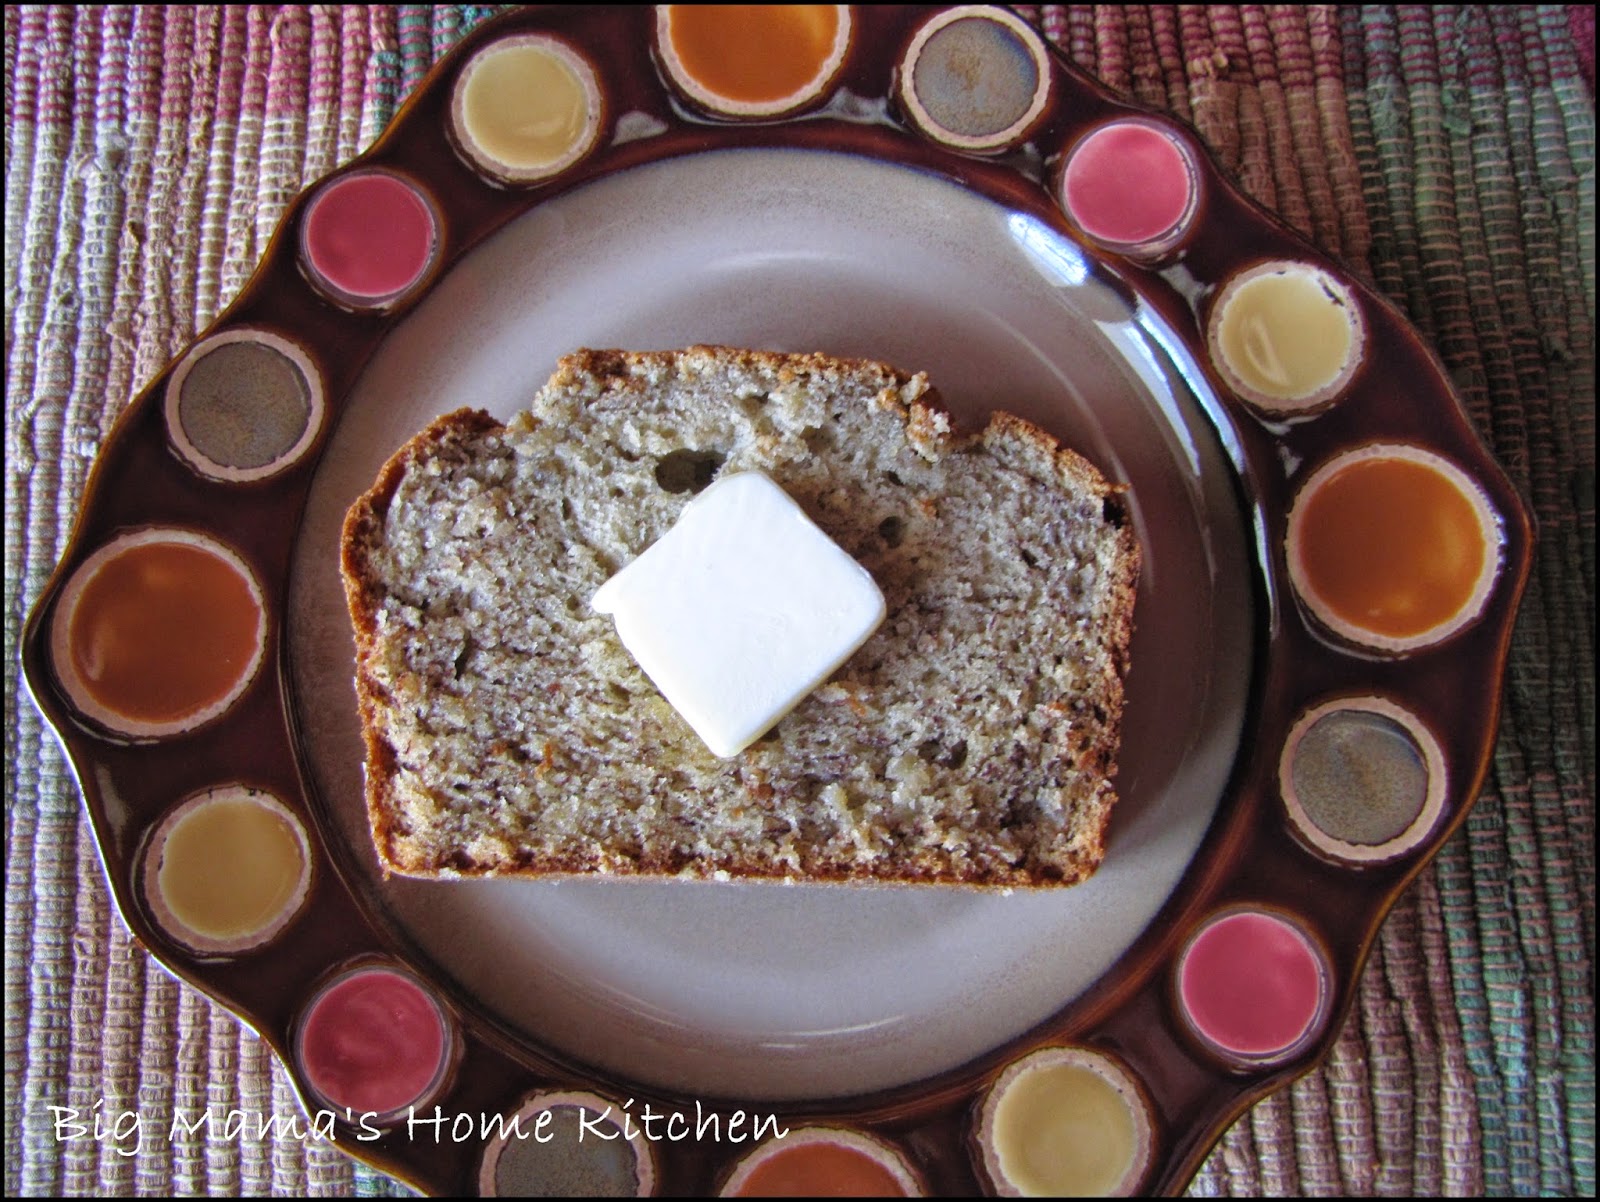
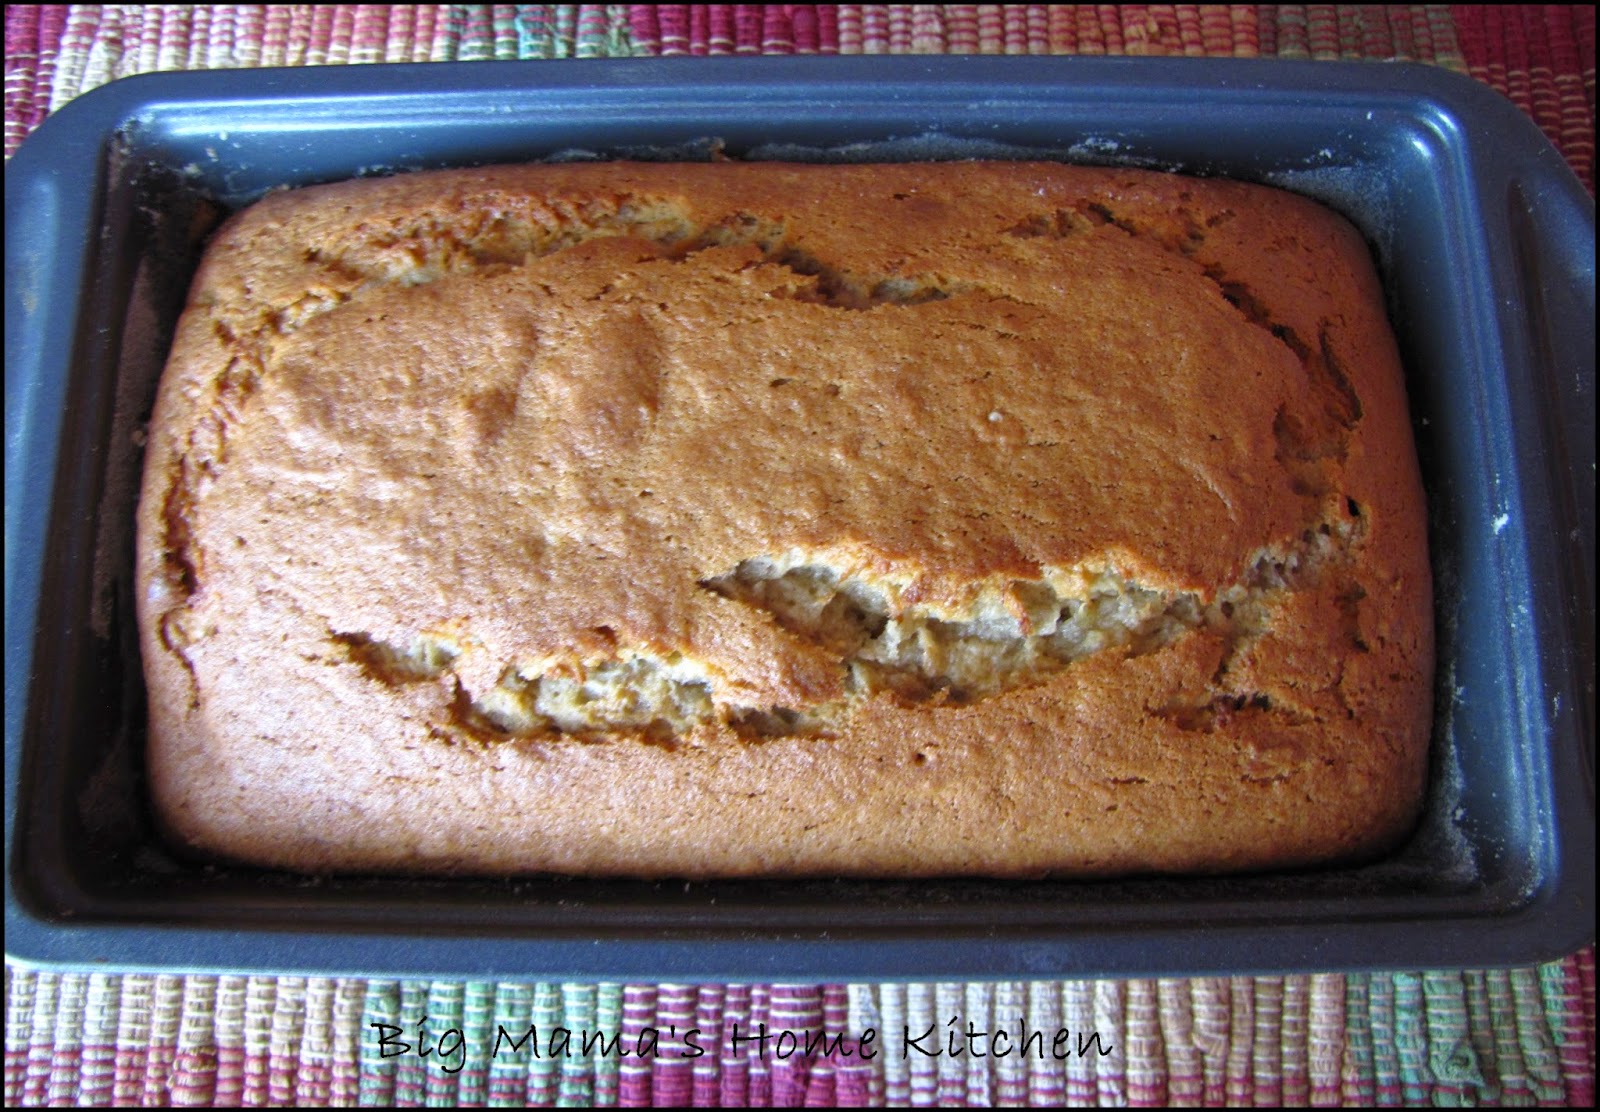
Today is the last weekday of Spring Break, so I wanted to make my girls a special breakfast. This banana bread is Madison's favorite! It's baking in the oven right now, and it smells so good. This is a simple quick bread, and you can make any additions your family likes, i.e. pecans, walnuts, cranberries, raisins, chocolate chips, blueberries, strawberries, etc. You can also replace the banana with pumpkin puree to make pumpkin bread.
This bread takes no time to assemble and less than an hour to bake. It's best served warm with some butter on top.
Ingredients:
1 stick (1/2 cup) unsalted butter, softened
1 cup sugar
2 eggs
2 tsp vanilla extract
2 cups all purpose flour
1 tsp baking soda
1/2 tsp cinnamon
1 1/2 cups mashed bananas
Preheat oven to 350 degrees. Grease and flour a loaf pan.
In a large bowl or stand mixer, cream together the butter and sugar until creamy. Add the eggs and vanilla extract and mix well. Add the flour, baking soda, and cinnamon and mix just until combined. Add the mashed bananas and mix until incorporated.
Pour banana bread batter into prepared loaf pan. Bake for 50-60 minutes, or until toothpick tester comes out clean. Serve warm with butter. Enjoy!
Note: This banana bread is very moist, so it's best to store it at room temperature in the loaf pan lightly covered with foil.
Is Spring Break over yet? Oh, I'm just kidding. I just LOVE taking all 3 girls grocery shopping with me. And sending them to their separate rooms serveral times throughout the day. And doing more laundry because it's cold in the morning and hot in the afternoon, so they change clothes. And telling them to please clean up their mess when they decide to play somewhere else. All kidding aside, it was time to cook a grown up meal. I've eaten all the tacos, cheeseburgers, and chicken tenders I can handle this week. I needed a comfort meal, preferably one that my kids will also enjoy eating.
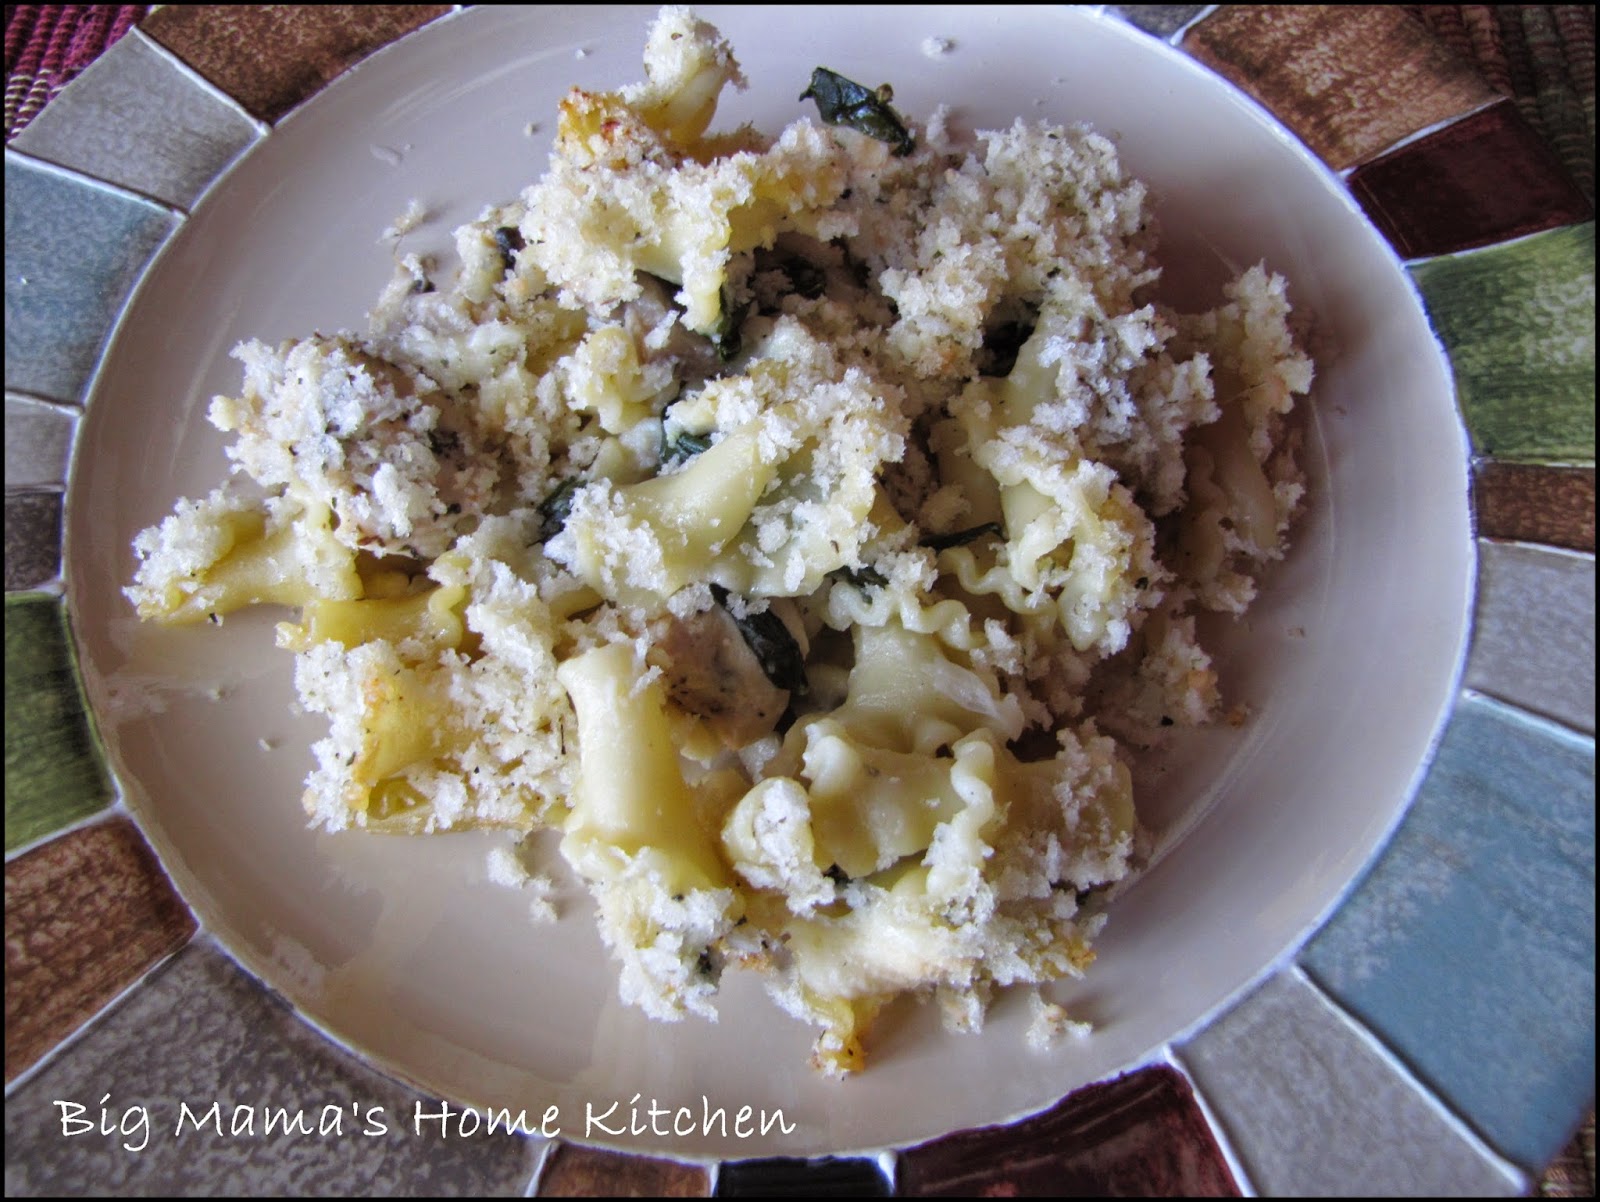
I found this recipe in my Cooking Light March 2011 issue. The original recipe is a vegetarian dish, but since we aren't vegetarians, I added chicken. I also added mushrooms (for me) and used chicken broth instead of white wine. The lemon adds so much flavor to this pasta. I adjusted the recipe to include more sauce because this type of pasta soaks it up and it was a little dry after baking. I also had to photograph the leftovers the next morning to take advantage of natural lighting. (It was so much creamier at dinnertime.)You definitely have to plan ahead and allow time for this pasta dish to bake once it's assembled. It's topped with an Italian Panko and parmesan breadcrumb mixture to give it a nice crunch. You don't even have to bake this dish if you don't have the time or don't care for the crunchy topping. You could simply boil the pasta until al dente, toss it all together, sprinkle with grated parmesan cheese, and serve immediately. Either way, it's a delicious and satisfying meal when you've had one of those days that only pasta can fix...and a little chocolate from some mint chocolate ice cream.
Ingredients:
3/4 lb Barilla Campanelle pasta
5 oz. fresh spinach, stems removed
2 T olive oil, divided
1 lb boneless, skinless chicken breasts, diced
1 yellow onion, diced
8 oz. mushrooms, sliced
3 cloves garlic, minced
1/3 cup flour
1 can low sodium chicken broth
3 cups reduced fat milk (I used 2%)
1 large lemon, zest and juice
kosher salt
black pepper
Italian seasoning
garlic powder
1 cup Italian Panko breadcrumbs, divided
3/4 cup grated parmesan cheese
Preheat oven to 350 degrees. Spray a large casserole dish with cooking spray.
Season the chicken with salt, pepper, and Italian seasoning. Heat a large deep skillet over medium high heat. Add 1 T olive oil and cook the chicken until no longer pink. Remove to a bowl and set aside.
Meanwhile, cook the pasta in salted boiling water for 7 minutes, until just shy of al dente. Turn off the heat, stir in the spinach, and let wilt for 2 minutes. Drain and set aside.
In the same large skillet over medium heat, add another 1 T olive oil. Add the onions and mushrooms and cook for 8 minutes, stirring occasionally. Add the garlic and cook another minute. Stir in the flour and cook for a minute. Pour in the chicken broth and stir until flour is incorporated. Add the milk, and season salt, pepper, garlic powder, and Italian seasoning. Bring to a boil, lower heat, and simmer until thickened, stirring occasionally. This will take about 10-12 minutes. Turn off the heat and stir in the lemon zest and lemon juice. Taste and reseason if needed.
Add the chicken and pasta mixture to the sauce and toss to coat evenly. Pour into the prepared casserole dish. Sprinkle top with 1/2 cup Panko breadcrumbs, then 3/4 cup parmesan cheese, then the other 1/2 cup Panko. Bake for 30 minutes, or until golden brown on top and bubbly. Enjoy!
Note: If you don't have the time to bake the pasta: Boil the pasta until al dente, toss it together with the chicken and sauce, sprinkle with grated parmesan cheese, and serve immediately.
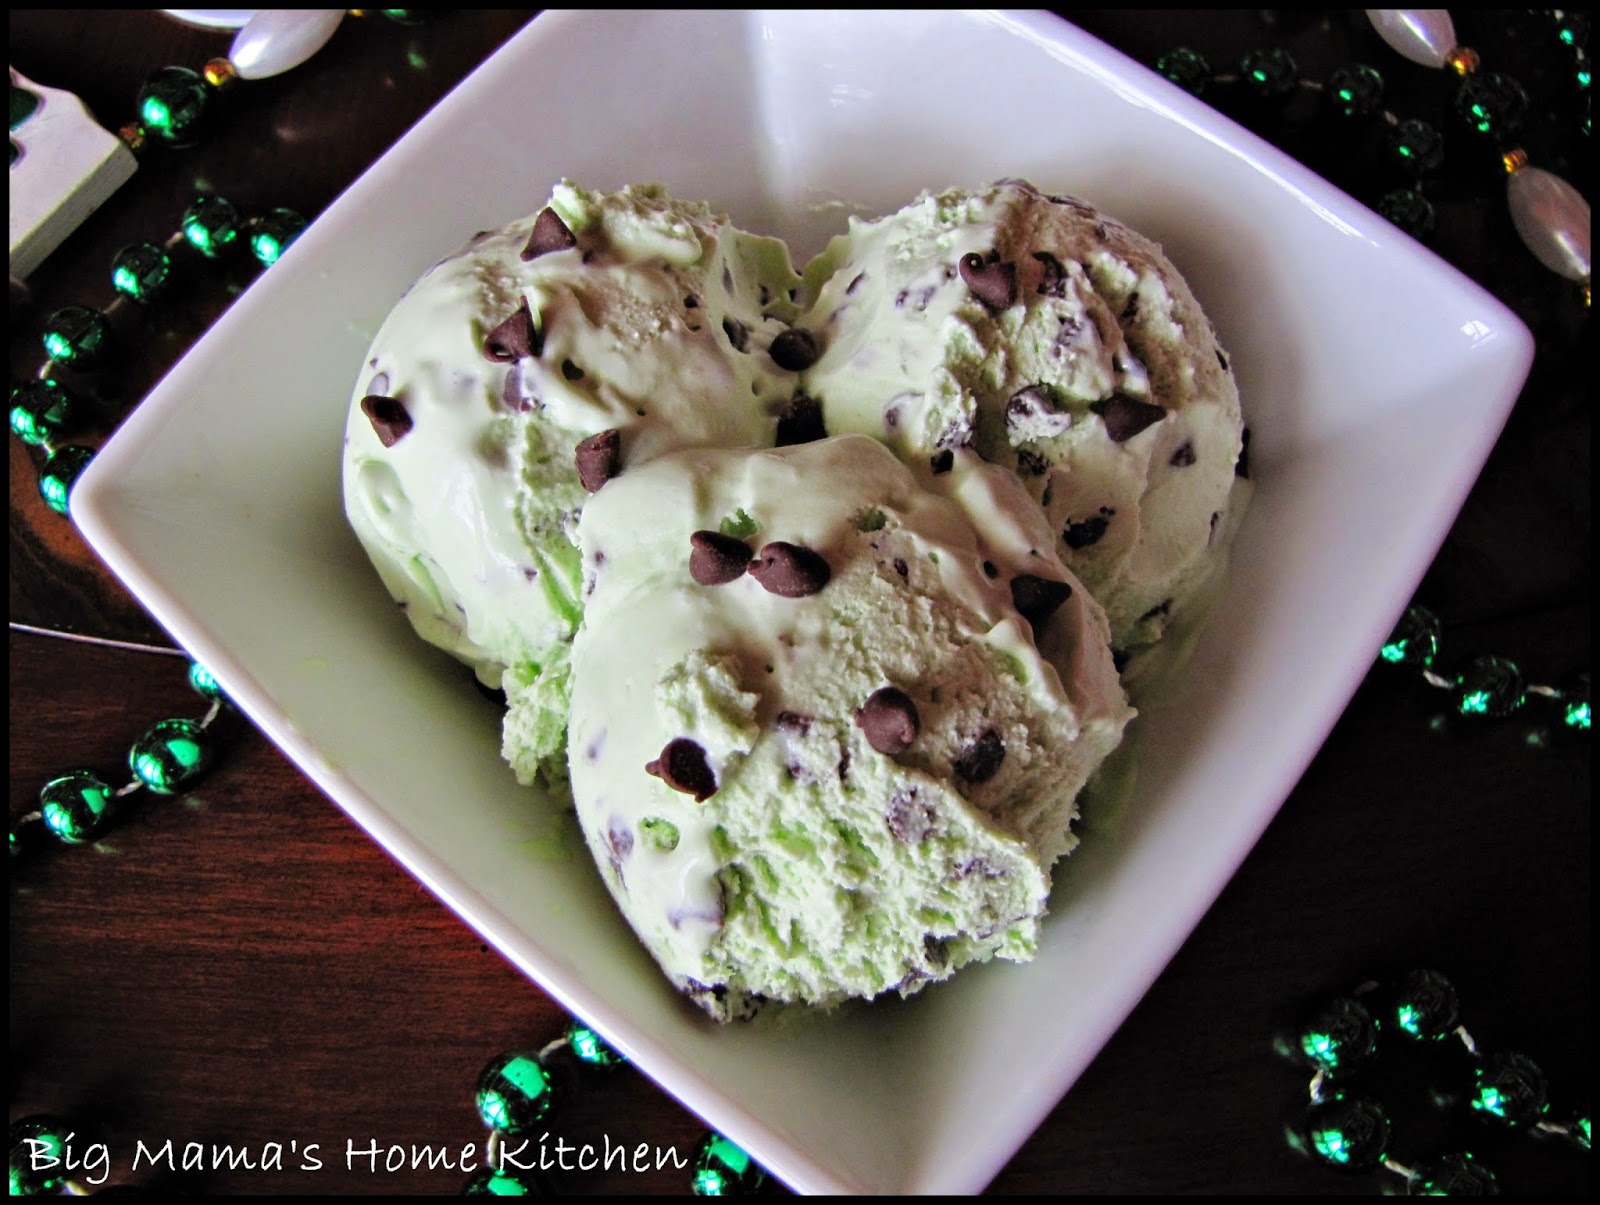
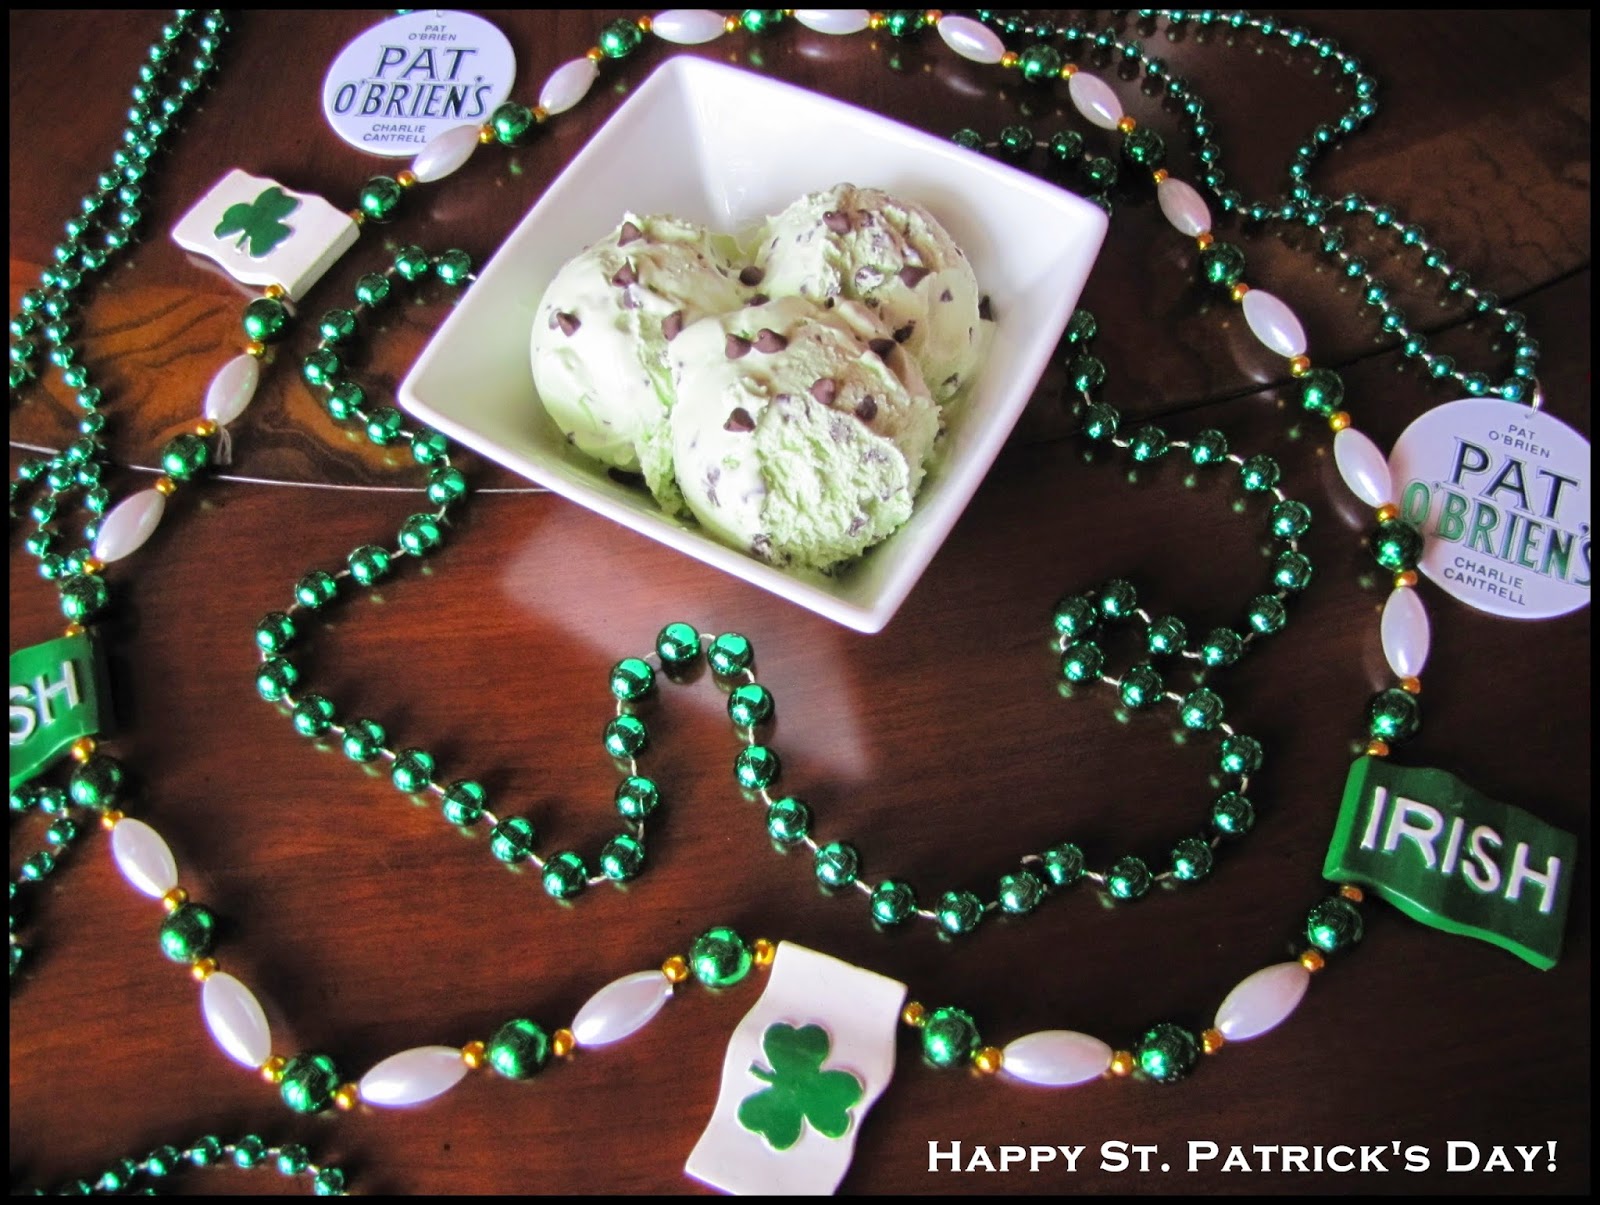
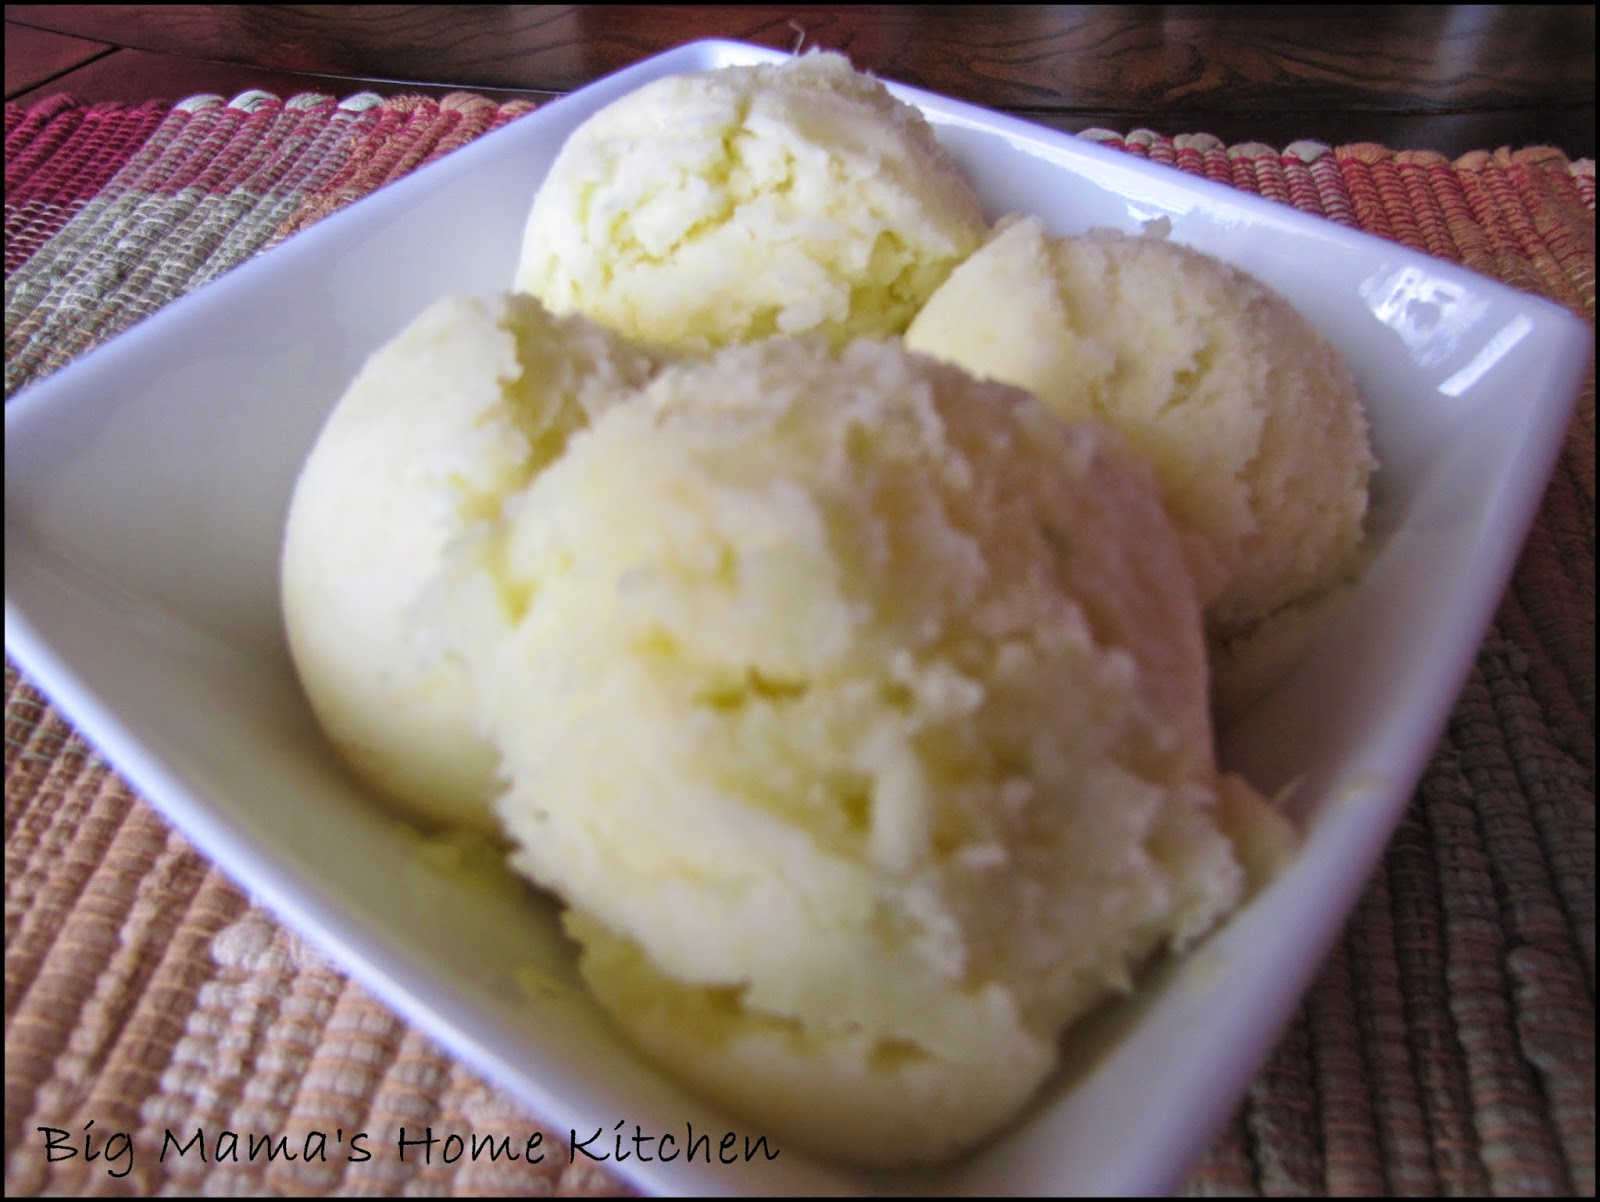
My girls are home all week for Spring Break, so I've been cooking their favorite meals...tacos, bbq, hot dogs, pizza, and ice cream. I thought it would be nice to make something green for them in celebration of St. Patrick's Day. This mint chocolate chip ice cream is so refreshing with the peppermint flavoring and rich with the chocolate chips!
Ingredients:
1 cup milk (I used 2%)
3/4 cup sugar
dash salt
3 egg yolks, lightly beaten
2 cups heavy cream
1 tsp vanilla extract
1 1/2 tsp peppermint extract
green food coloring
1/2 to 3/4 cup mini semi-sweet chocolate chips
In a medium sauce pan over medium low heat, whisk together the milk, sugar, and salt. Bring to a simmer, then reduce heat to low. In a glass bowl, lightly beat 3 egg yolks, then whisk in 1/4 cup of the warm milk mixture to tempur the eggs. Slowly whisk the eggs into the sauce pan and cook until custard is just thickened, whisking constantly. Be careful not to bring to a boil.
Pour thickened custard into a chilled glass bowl and refrigerate until cool, stirring occasionally, about 2 hours. Note: If there are any lumps in your custard, strain through a fine mesh sieve into the chilled glass bowl.
Prepare your ice cream machine. Add the heavy cream, vanilla extract, and peppermint extract to the cooled custard. Stir in some green food coloring until you get a pretty light green. Pour the mixture into your ice cream machine. After 10 minutes, pour the chocolate chips into the ice cream machine. Continue to freeze according to your ice cream manufacturer's instructions. Mine usually takes about 25 minutes total.
Pour the soft serve ice cream into an airtight container and freeze until ready to serve. Enjoy!
I'm baaaaack! I'm finally in the kitchen and it feels good to cook again. Yesterday was family day and we spent the day outside playing with our girls. My little Jordyn was jumping on the trampoline with her big sisters. They had a blast and nobody got hurt!
My hubby and I researched planting apple trees in our backyard. Our local nursery didn't have Granny Smith apple trees in stock yet, so we will hopefully get them planted next weekend. I can't wait until we get to pick apples out of our own backyard since I absolutely love making apple desserts.
My hubby smoked a brisket and ribs, and the whole neighborhood was filled with the smell of BBQ. I made a pasta salad and baked beans to go with the meat. I made this dessert early in the afternoon and let it set up in the freezer to have after dinner.
This dessert is simply amazing! It's so easy to make and requires just a few ingredients. You do have to plan ahead as it takes time to set up. This dessert consists of store bought strawberry ice cream, frozen store bought cheesecake, and a simple homemade sweet graham cracker crust. Top it with a fresh strawberry sauce and it's done.
Strawberry Cheesecake:
1/2 gallon Blue Bell strawberry ice cream
1 1/2 cups finely ground graham cracker crumbs
6 T unsalted butter, melted
1/4 cup sugar
1 Sara Lee frozen cheesecake, partially thawed
Strawberry Sauce:
1 lb fresh strawberries, hulled and cut into pieces
1/2 lemon, juiced
2 T sugar
1 tsp vanilla
Set the ice cream and cheesecake out at room temperature for 30 minutes to soften. Meanwhile, use a fork to mix together the graham cracker crumbs, butter, and 1/4 cup sugar in a bowl. Press this mixture into a 9-inch springform pan along the bottom and halfway up the sides. Use a glass or metal measuring cup to press and pack the mixture tight.
When the ice cream has softened, place in a large stand mixer with a paddle attachment. Mix until soft and creamy, but not melted.
Remove the thawed cheesecake to a cutting board. Cut into 1/2 inch cubes and add to softened ice cream. Use a large spatula or spoon to gently fold cheesecake into the ice cream. Pour mixture into graham cracker crust. Cover with plastic wrap and place in freezer to set up.
Make the strawberry sauce by adding all ingredients to a small sauce pan. Cook over medium heat for 5 minutes. Pour into a bowl, cover with plastic wrap, and refrigerate until ready to serve.
To serve, remove the sides of the springform pan and put the frozen cheesecake on a plate. Cut into slices and top with strawberry sauce. Enjoy!
Adapted from Tyler Florence
How to Boil Water
I can't believe this is my 200th post! Time flies when you're having fun!
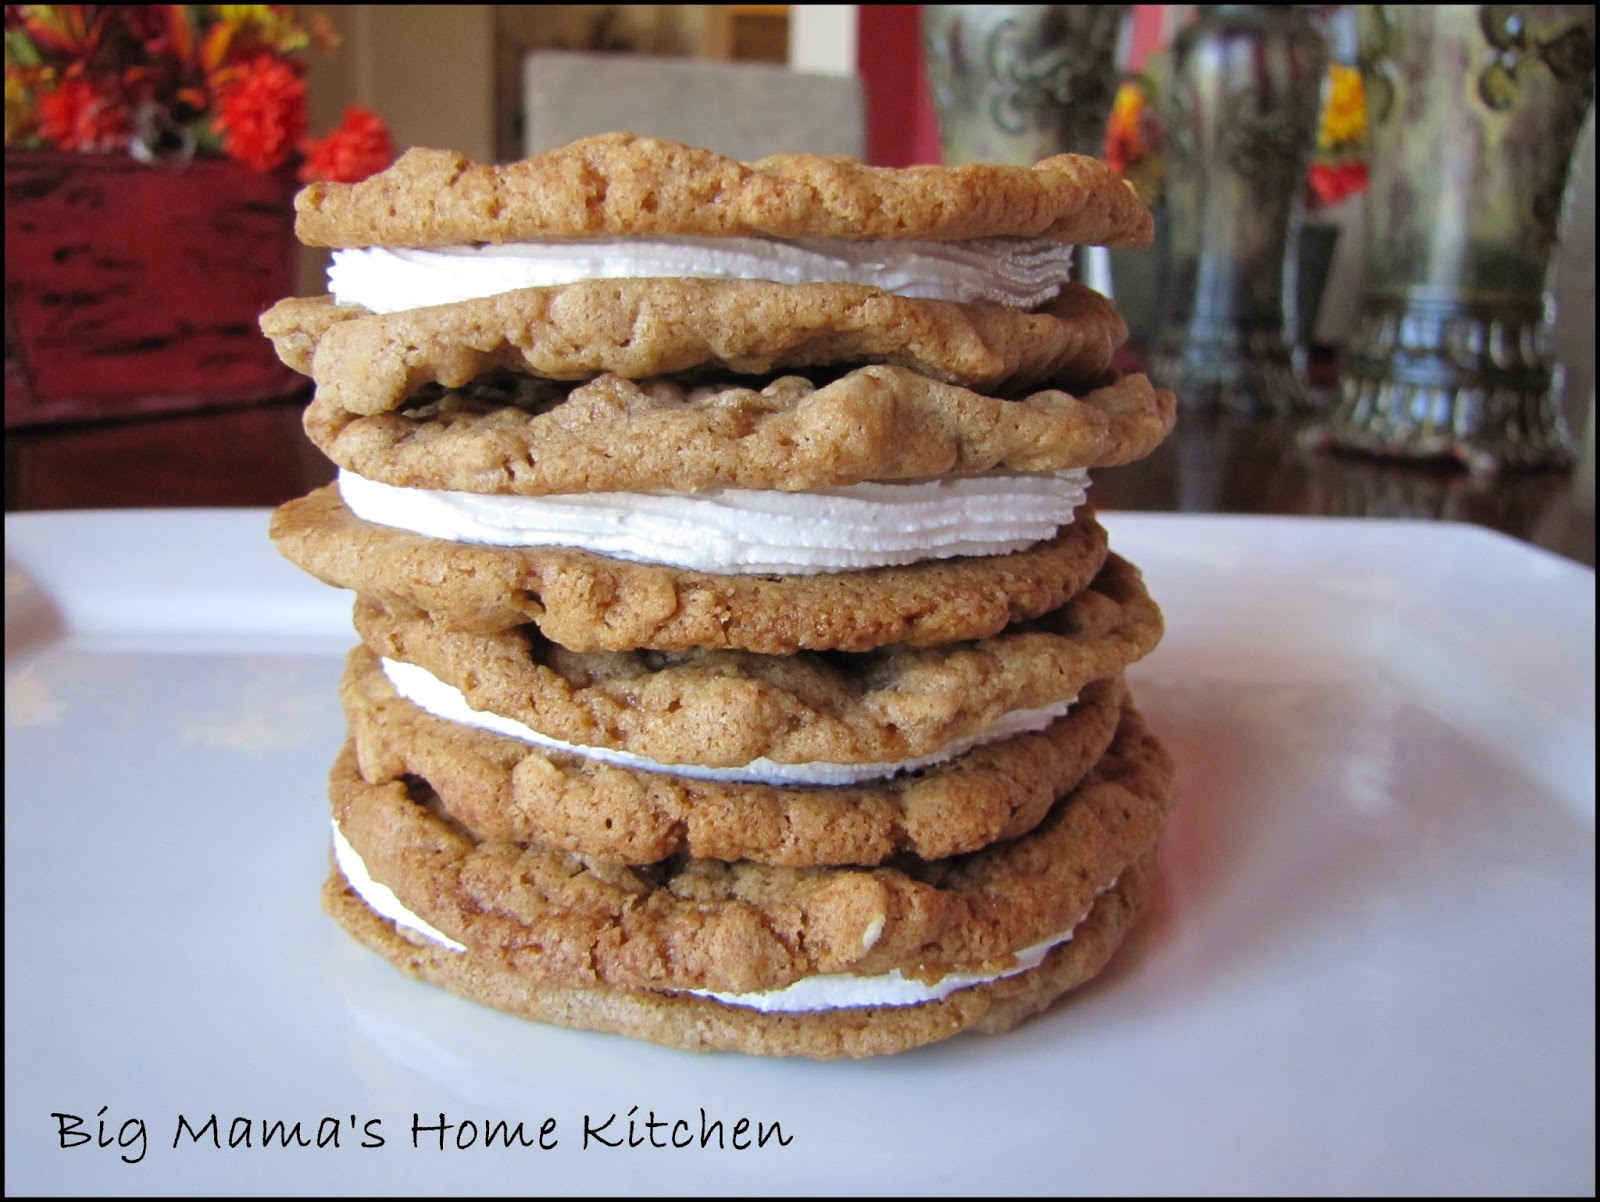
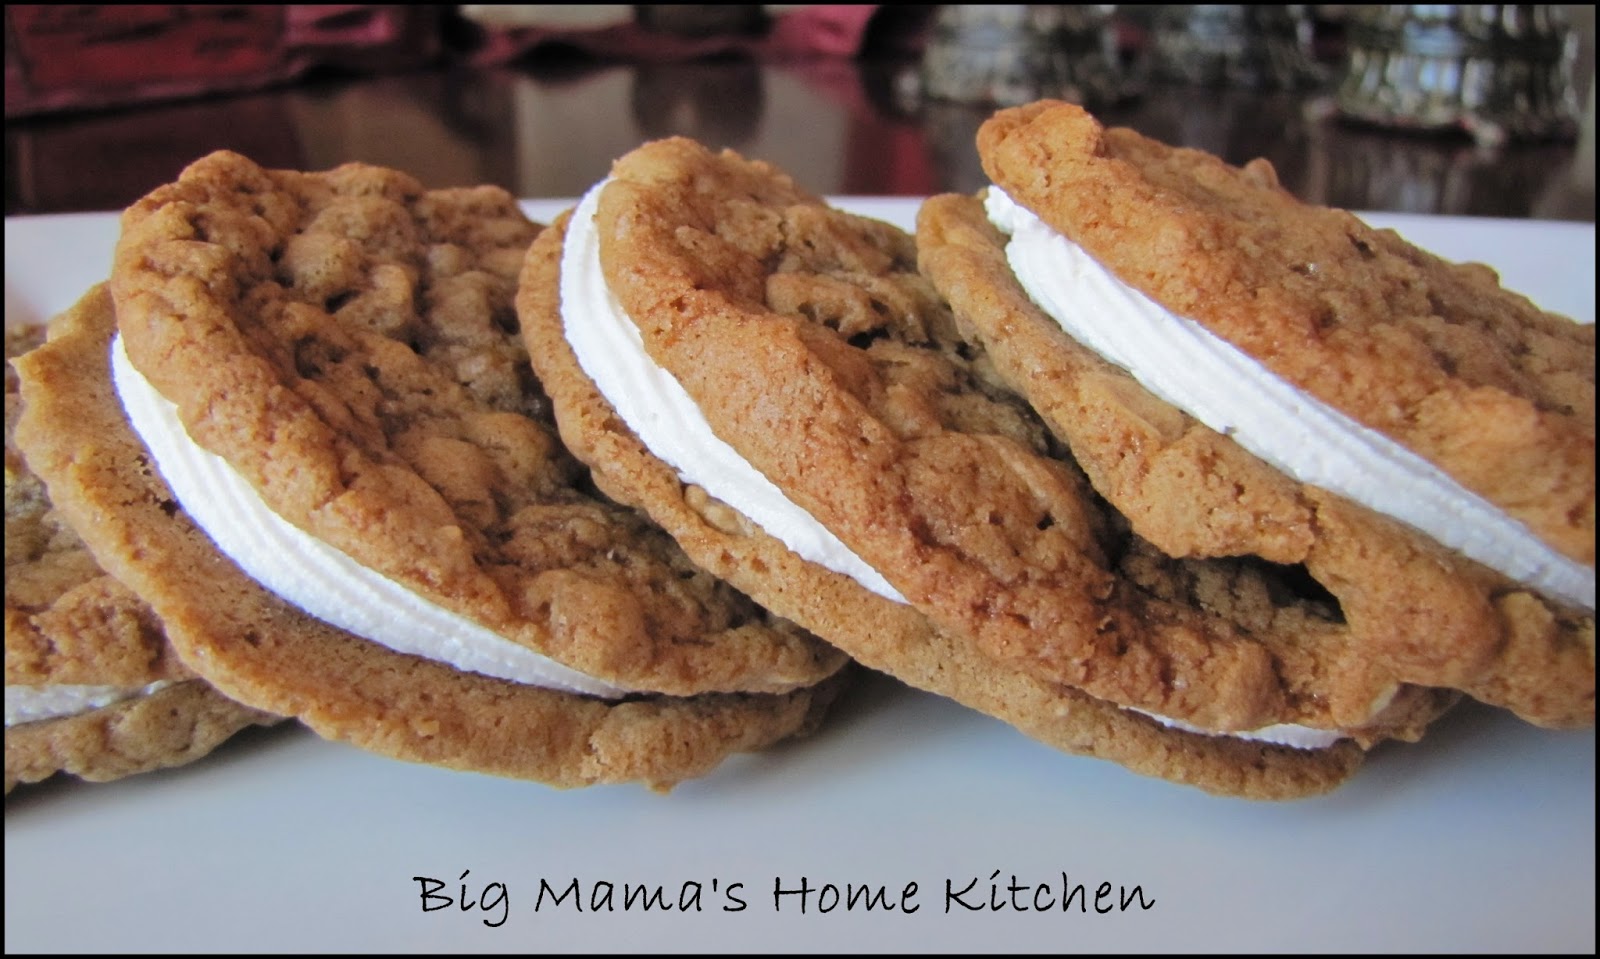
Little Debbie oatmeal cream pies are my hubby's favorite after dinner treat. As he sat here eating a red velvet sandwich cookie a couple of weeks ago, he suggested other filled cookies I could make that would be good. He forgot to mention these oatmeal cream pies, but they were the first ones I thought of as he was talking.
I was surprised how simple these were to make. Sorry Little Debbie...I won't be buying your processed cookies ever again. These are so much better!
Oatmeal Cookies:
1 cup all purpose flour
1 tsp cocoa powder
1/2 tsp cinnamon
1/2 tsp baking powder
1/2 tsp baking soda
pinch of salt
1 cup brown sugar
1/2 cup (1 stick) unsalted butter, melted
1 egg
1 tsp vanilla
1 cup Old Fashioned Oats
Cream Filling:
1 cup vegetable shortening
1 cup + 4 T powdered sugar
3 tsp vanilla extract
7 1/2 oz jar marshmallow cream
Preheat the oven to 350 degrees. Line two baking sheets with parchment paper. This is an important step because you will let the cookies cool on the hot baking sheets. If they are not lined with parchment paper, they will stick even on a non-stick baking sheet.
Sift together the dry ingredients in a bowl and set aside.
In a large stand mixer, cream the brown sugar, butter, egg and vanilla until smooth. Add the dry ingredients and mix until combined. Stir in the oats.
Use a tablespoon size scoop to form equal size dough balls. Allow plenty of space for them to spread. Bake for 7-9 minutes. Allow the cookies to cool on the baking sheet.
You can make the cream filling while the cookies cool. In a large stand mixer, cream the shortening, powdered sugar, and vanilla until smooth. Add the marshmallow cream and mix until well combined. Add mixture to a piping bag fitted with a large tip.
Turn half of the cookies over. On the inside of the cookie, pipe the cream filling starting on the outside edge, and pipe in a circular pattern until you reach the middle. Place another cookie on top and press slightly. Repeat for all cookies. Makes 10 oatmeal cream pies. Enjoy!
Adapted from foodista.com
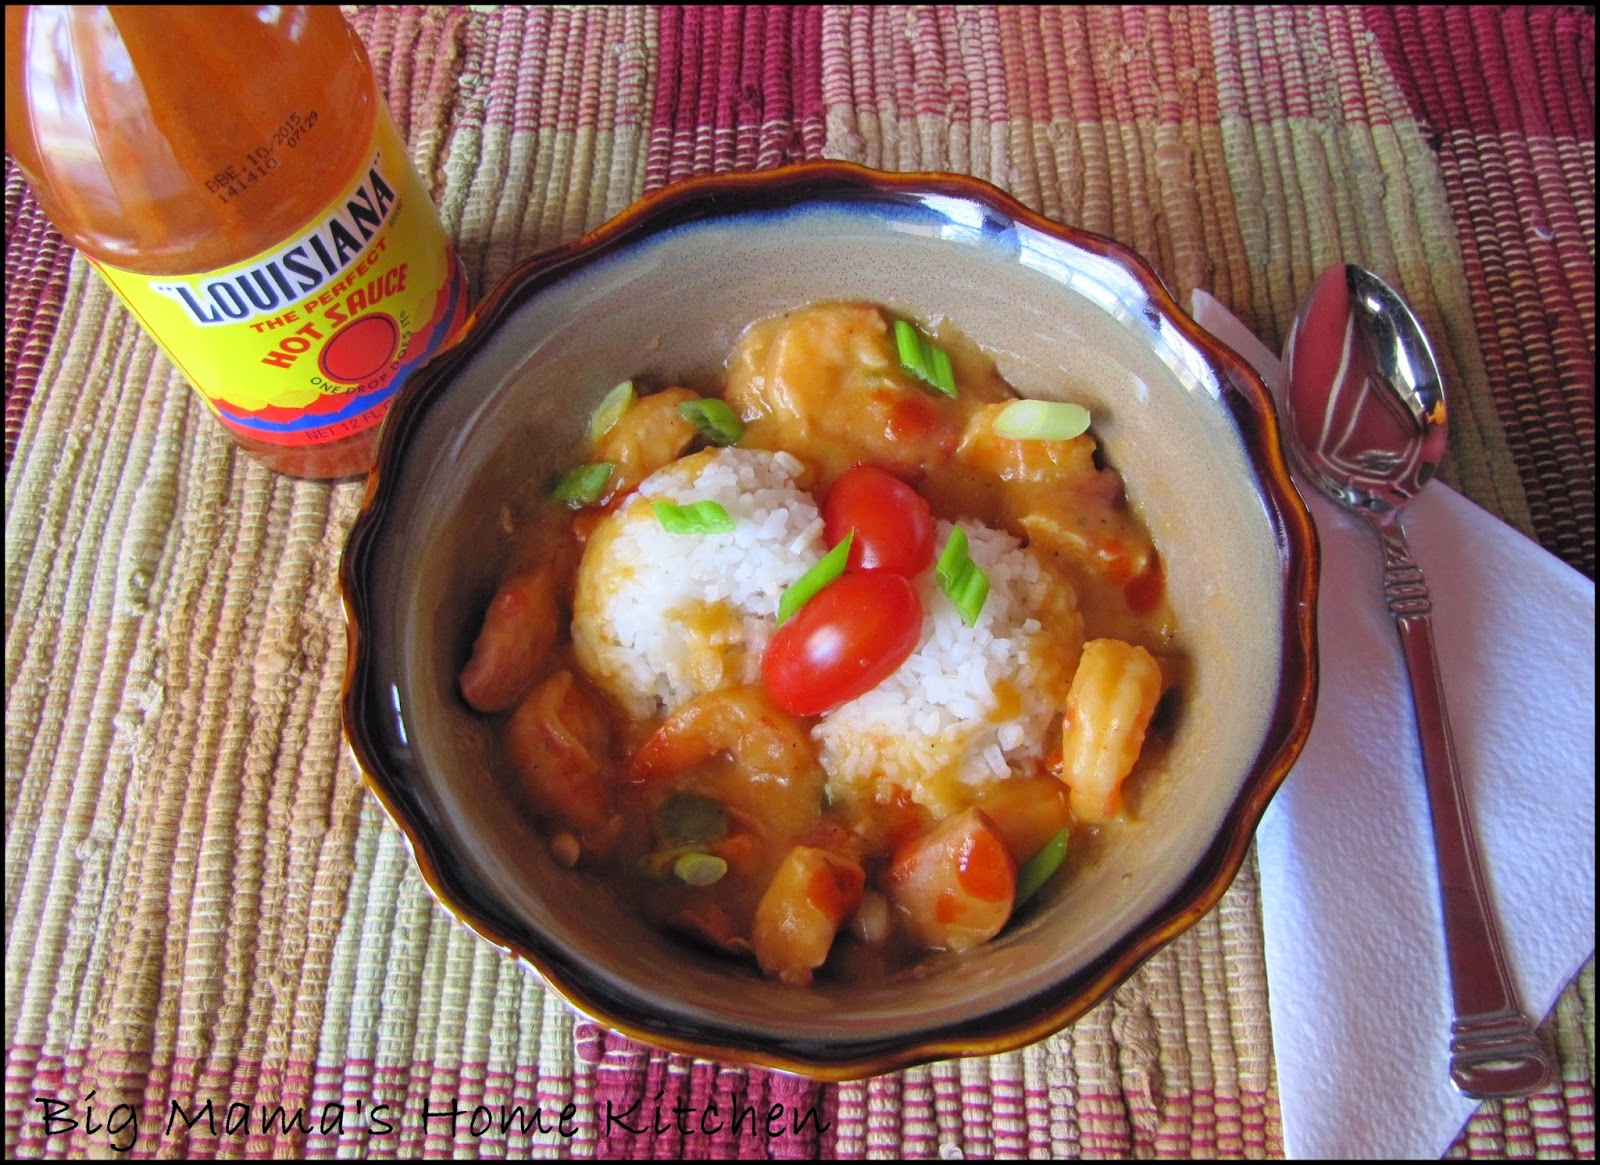
To get us ready for the big NOLA and Mardi Gras, I made a big pot of Gumbo. My favorite part is the sausage and Louisiana hot sauce. I like it spicy, but my kids don't, so I always load up on the spice in my bowl. And I learned that a cast iron skillet really does produce a wonderful and nutty dark roux. I personally like a light brown roux, and my hubby likes a very dark roux. I'm the cook, so I got my way this time! He will get his way when we get to New Orleans next week.
Ingredients:
1 1/2 cups vegetable oil
1 1/2 cups all purpose flour
2 T vegetable oil
1 large green pepper, diced
1 white onion, diced
3 ribs celery, sliced
4 cloves garlic, minced
1 tsp cayenne pepper
1/2 tsp onion powder
1/2 tsp garlic powder
1 tsp crushed dried thyme
1 tsp paprika
1 can diced tomatoes, with juice
6 cups chicken stock
1 lb Eckridge sausage, sliced
1 lb chicken breasts, cut into bite size pieces
1 lb raw shrimp, peeled, deveined, tails removed
kosher salt
black pepper
Louisiana hot pepper sauce
white or brown rice, cooked per package instructions
In a cast iron skillet over medium low heat, stir together the vegetable oil and flour. Cook, stirring often, until a nice brown color is achieved. Set aside.
In a large stock pot over medium high heat, add 2 T vegetable oil, and saute the green peppers, onions, and celery for 5 minutes. Add the garlic and cook another minute. Add the spices, diced tomatoes, and chicken stock. Carefully, add 1/2 cup of the roux and stir well. Reserve the rest of the roux for thickening later.
Add the sausage and chicken to the pot, and cook until the chicken is cooked through. Add the raw shrimp and cook for another 5 minutes, or until shrimp is cooked through. Add more roux to achieve desired thickness. Taste and add salt and black pepper, as needed. If you like it spicy, add some Louisiana hot pepper sauce.
Serve over cooked rice and top with fresh chopped tomatoes and sliced green onions. Enjoy!
I have a new subscription to Cooking Light magazine. I read it while I'm sitting in the carpool pick up line at school waiting for my kids. I found so many new recipes I want to make, and this is one of them. This recipe is adapted from the March 2011 Cooking Light issue.
The original recipe is simply called "Tropical Sherbet" because it uses 3 parts pineapple, 1 part papaya. We don't care for papaya, so I just used all pineapple. I also added lime zest. This is a great tropical treat that will make you want to be at the beach listening to the ocean.
Ingredients:
2/3 cup granulated sugar
2/3 cup water
4 cups fresh pineapple, cubed (1 whole)
3/4 cup coconut milk (found on Asian aisle)
1 T fresh lime juice
zest of lime (optional)
1 T light corn syrup
In a small sauce pan over medium heat, stir together the sugar and water until sugar completely dissolves. Remove from heat and let cool. This is a simple syrup.
Combine cooled simple syrup , pineapple, coconut milk, lime juice, lime zest, and light corn syrup in a blender, and process until smooth.
Note: Original recipe says to strain the mixture over a fine sieve and discard solids. I chose not to do that to have more texture.
Pour sherbet mixture into the freezer can of an ice cream maker, and freeze according to manufacturer's instructions. Transfer to an air tight container, and freeze for 2 hours, or until firm. It was also very good soft serve! Enjoy!
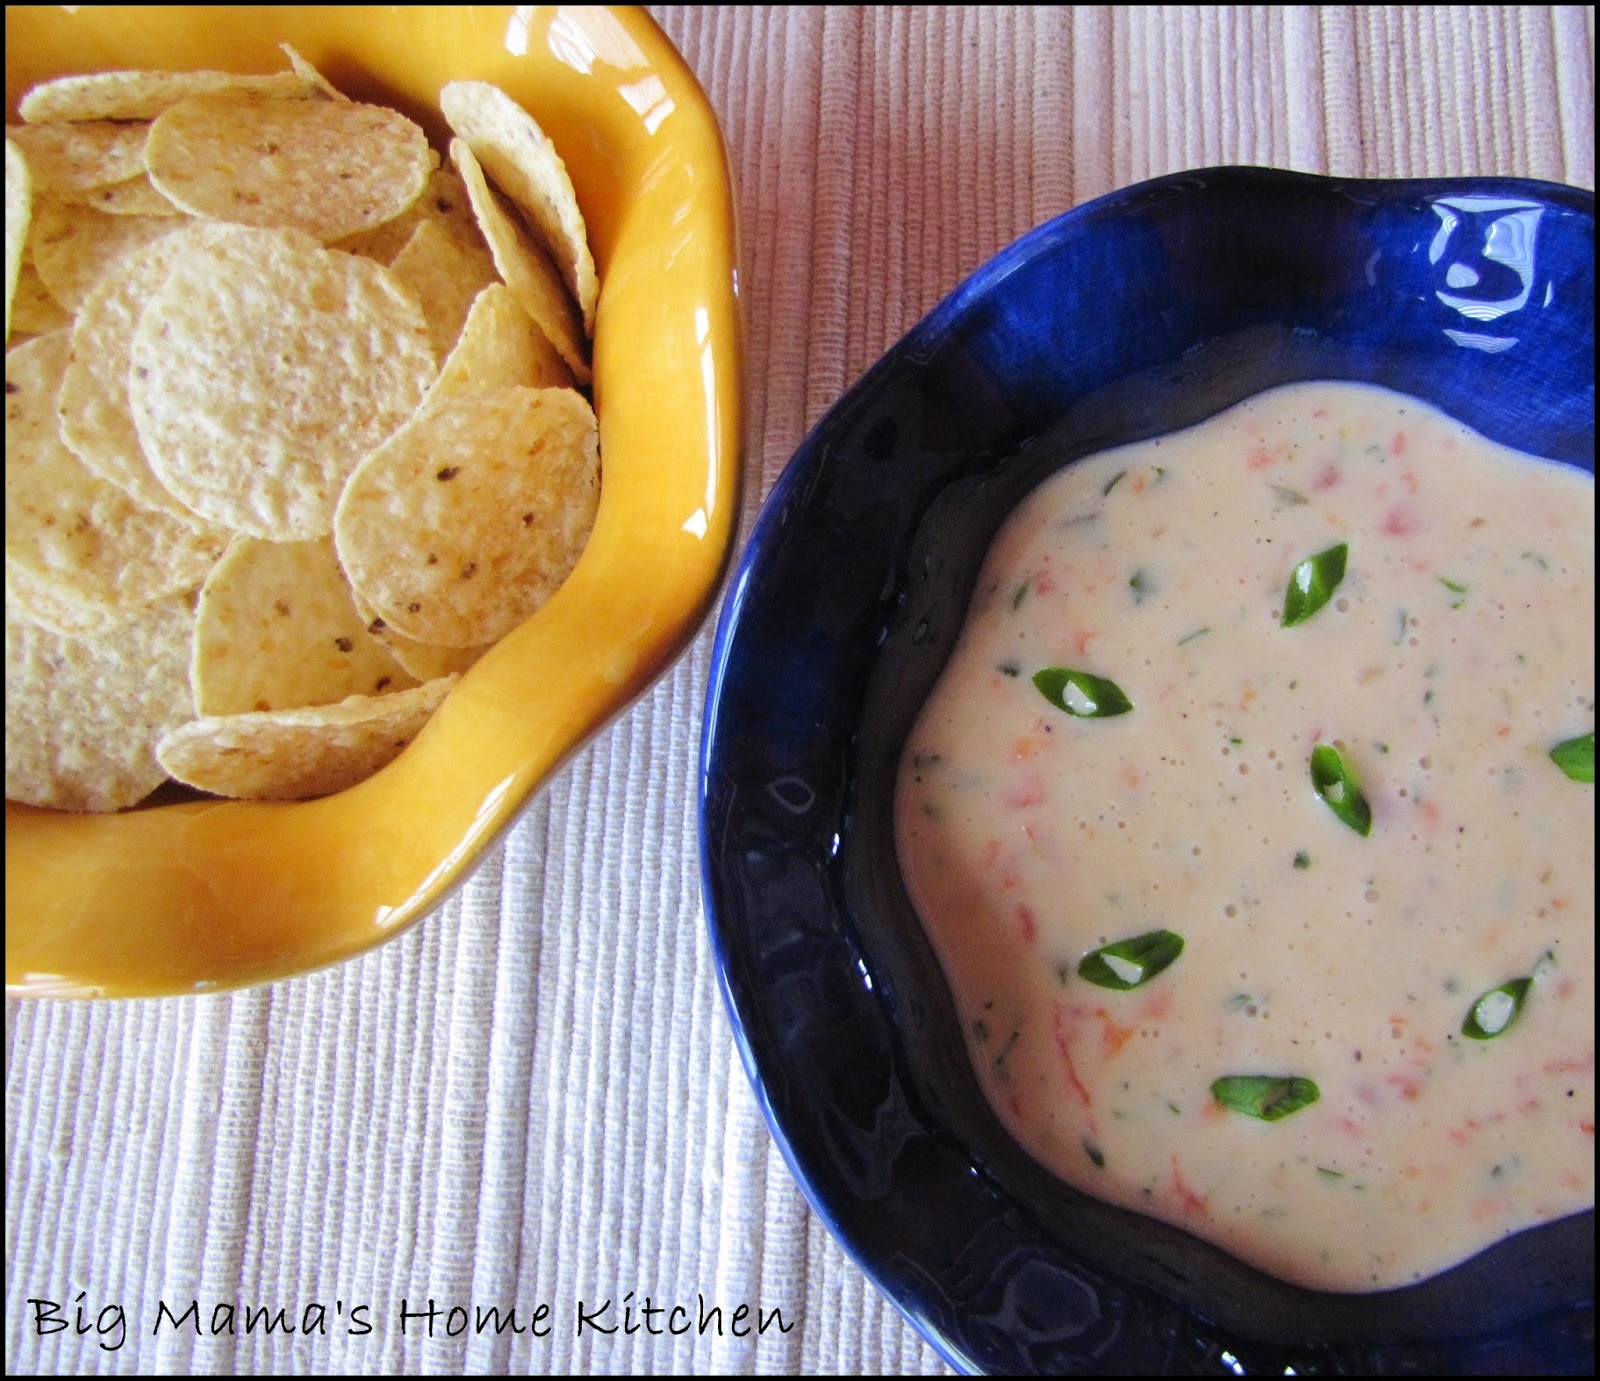
I made this amazing cheese dip to go with our Carne Asada Tacos. I also made some homemade tortillas for the tacos and for dipping. This is an easy dip that does not start off with a roux as the base. It's so good and addicting!
Ingredients:
1 T canola oil
1/4 cup yellow onion, finely chopped
1 can mild Rotel tomatoes, drained
2 T pickled jalapenos, finely chopped
1 1/2 cups white American cheese (found in deli section)
1 cup shredded monterey jack cheese
1/4-3/4 cup milk
3 T cilantro, chopped
Heat the oil over medium heat. Add the onion and saute for 5 minutes. Add the Rotel tomatoes and jalapenos. Cook another 2 minutes. Reduce the heat to low and add the cheese with 1/4 cup of the milk. Stir until melted. Add more milk as needed to get sauce to the right consistency. Note: The cheese dip will thicken quickly as it cools, so start off a bit thinner. Turn off the heat and stir in the cilantro. Serve immediately with tortilla chips and flour tortillas. This can be reheated in the microwave as needed. Enjoy!
Adapted from Annie's Eats
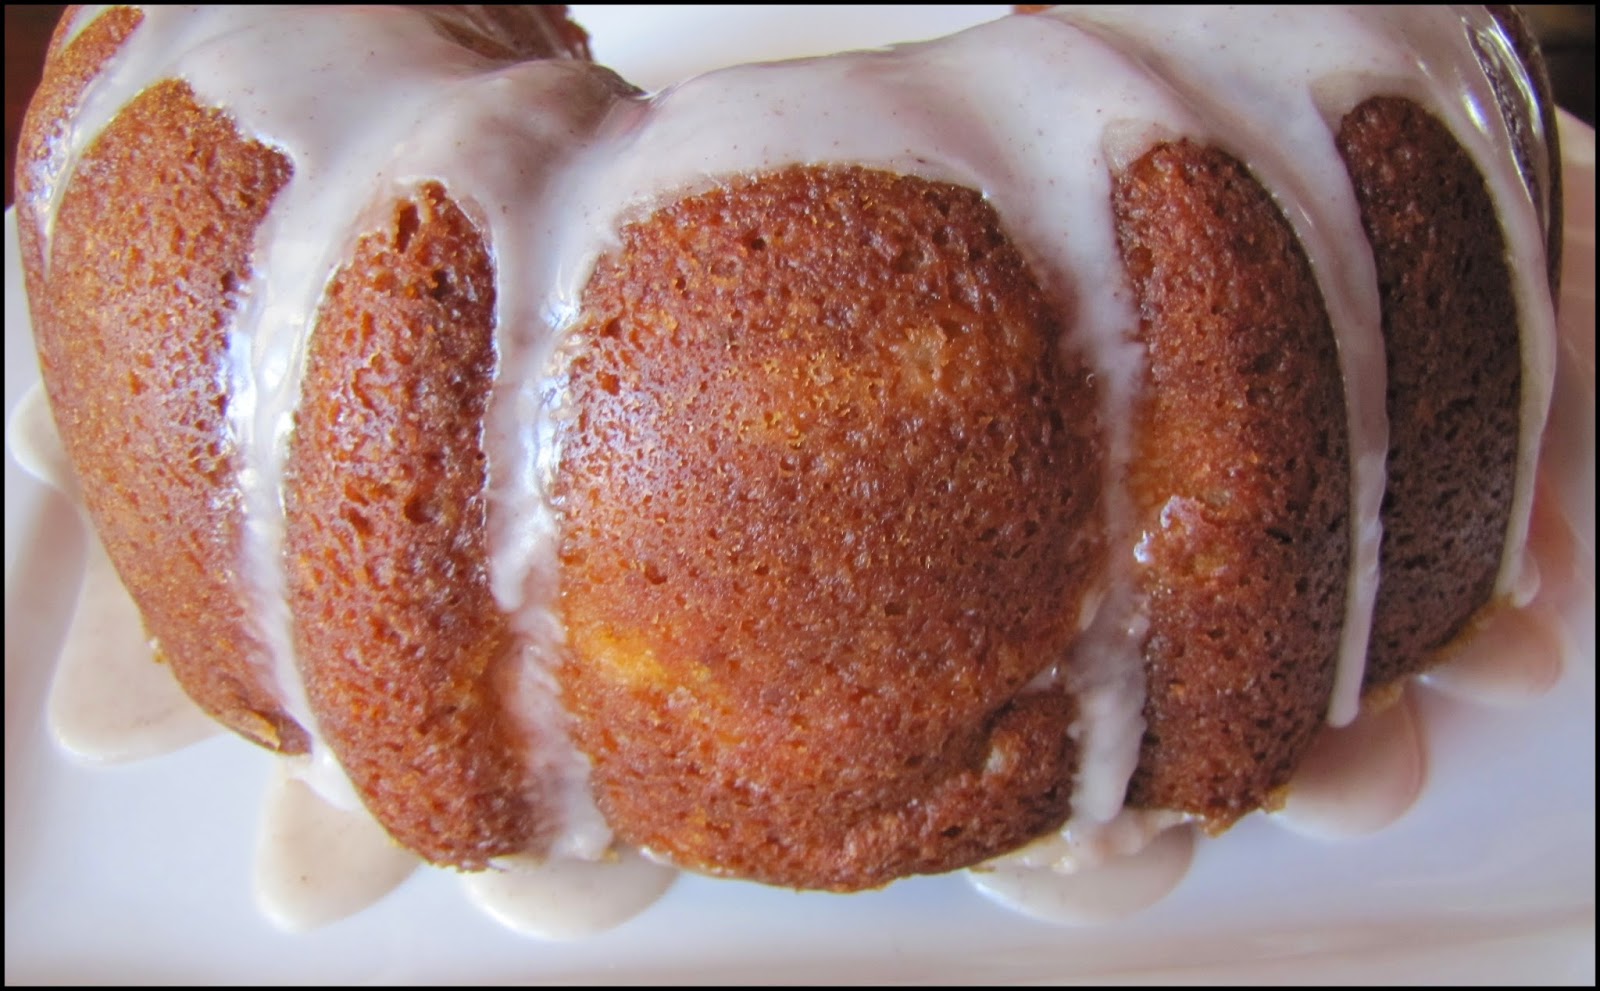
It's no secret my girls and I love anything with cooked apples and cinnamon. I even created a new category for Apples/Cinnamon recipes. I was trying to think of a recipe to use up some huge Granny Smith apples from the fridge. I originally was thinking of incorporating them in a Snickerdoodle bundt cake, but the recipes I found did not look as moist as a Spice cake. So when I'm not sure what to make, I google it. Google is my friend and I enjoy looking at the images first, then choosing from there.
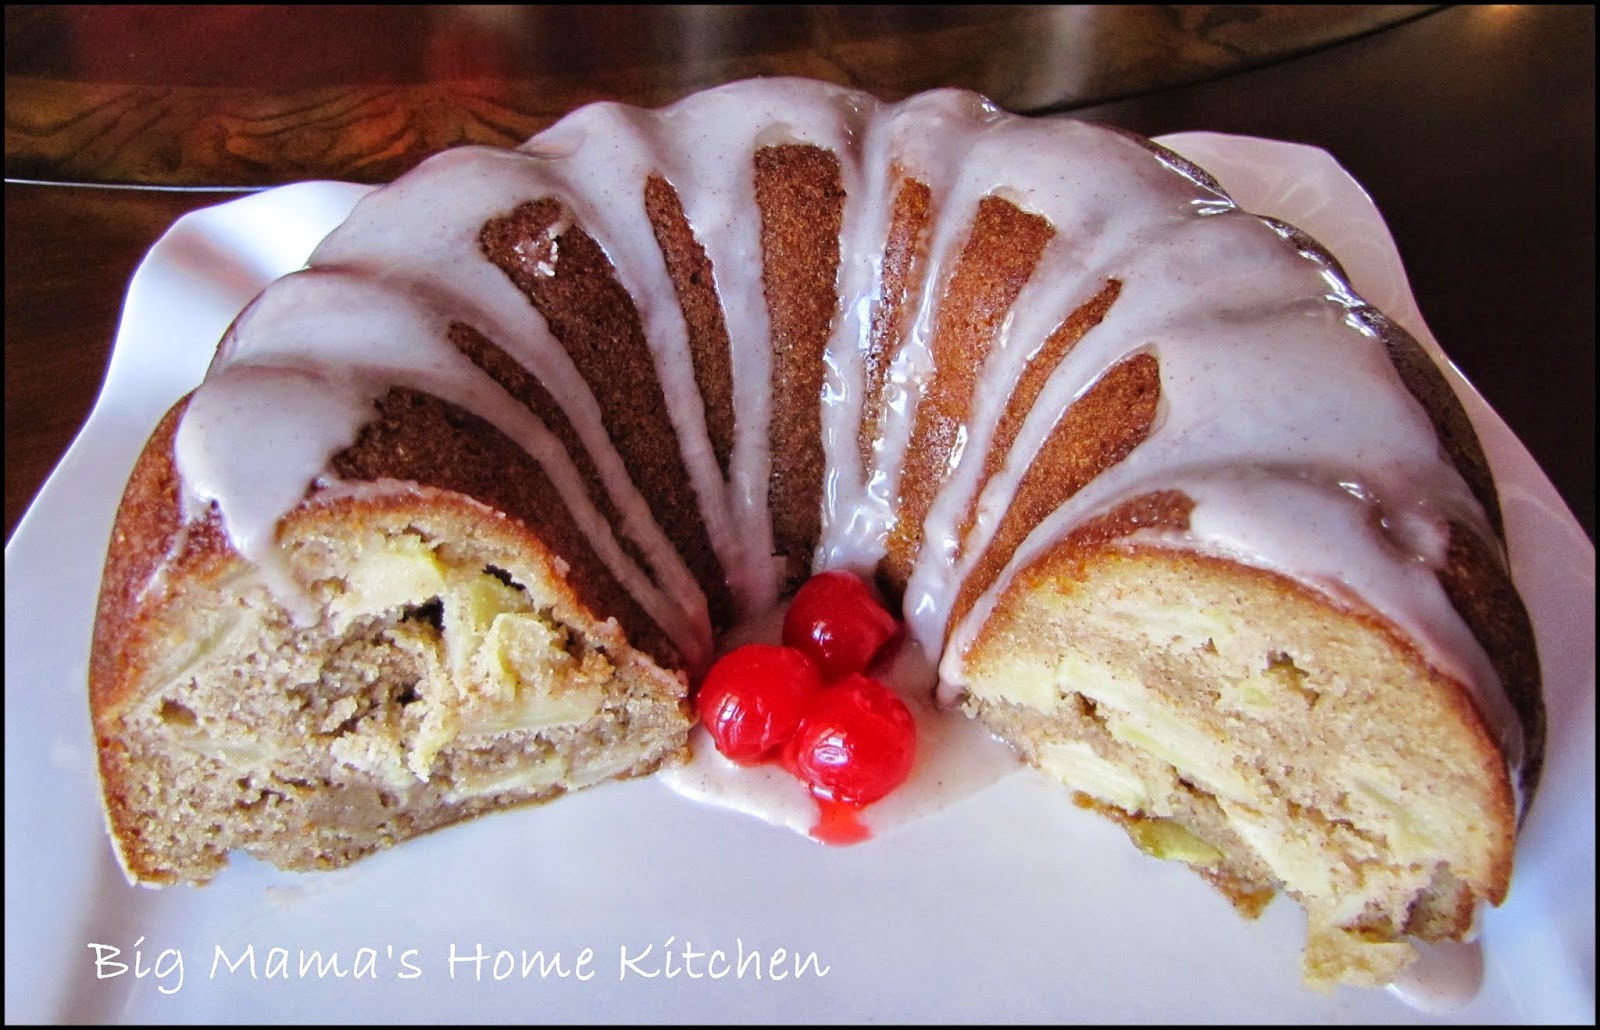
This recipe is adapted from a favorite recipe site...marthastewart.com! I did make some recipe changes. I substituted some of the white flour with whole wheat flour, and used apple pie spice and cinnamon instead of just cinnamon. I also added cinnamon apple sauce to make sure it stayed moist. I used apple juice and cinnamon in the glaze for even more flavor. It was amazing, my kids told me so, and who can argue with 3 picky little eaters!
To give you an idea of what this cake tastes like, think moist spice cake, apple pie, and apple fritters all mixed up. This cake is best served warm with a little extra glaze drizzled over top.
Ingredients:
2 cups all purpose white flour
1/2 cup whole wheat flour
2 tsp apple pie spice
1 tsp ground cinnamon
2 tsp baking powder
1 tsp salt
1/2 tsp baking soda
1 cup (2 sticks) unsalted butter, melted
1 1/2 cups packed light brown sugar
1/2 cup cinnamon apple sauce
4 large eggs
5 cups Granny Smith apples, peeled, cored, and sliced 1/4 inch thick
Glaze:
1 cup powdered sugar
2 T apple juice
1/4 tsp ground cinnamon
Preheat oven to 350 degrees. Spray a bundt pan with non-stick cooking spray.
In a medium bowl, whisk together the white flour, whole wheat flour, apple pie spice, cinnamon, baking powder, salt, and baking soda.
In a large bowl, whisk together the butter, brown sugar, apple sauce, and eggs until smooth. Add the dry ingredients and whisk just until combined. Use a rubber spatula to fold in the apples. Pour batter into a 12-cup Bundt pan and smooth top
Note: The batter will be very thick and just barely coat the apples. The apples with release their moisture and the batter will become cake. Don't worry!
Bake for 45-55 minutes, or until toothpick comes out clean. Cool in pan for 15 minutes. Invert onto a wire rack to cool completely.
To make the glaze, stir together powdered sugar, apple juice, and cinnamon. Spoon over top of cooled cake. Enjoy!