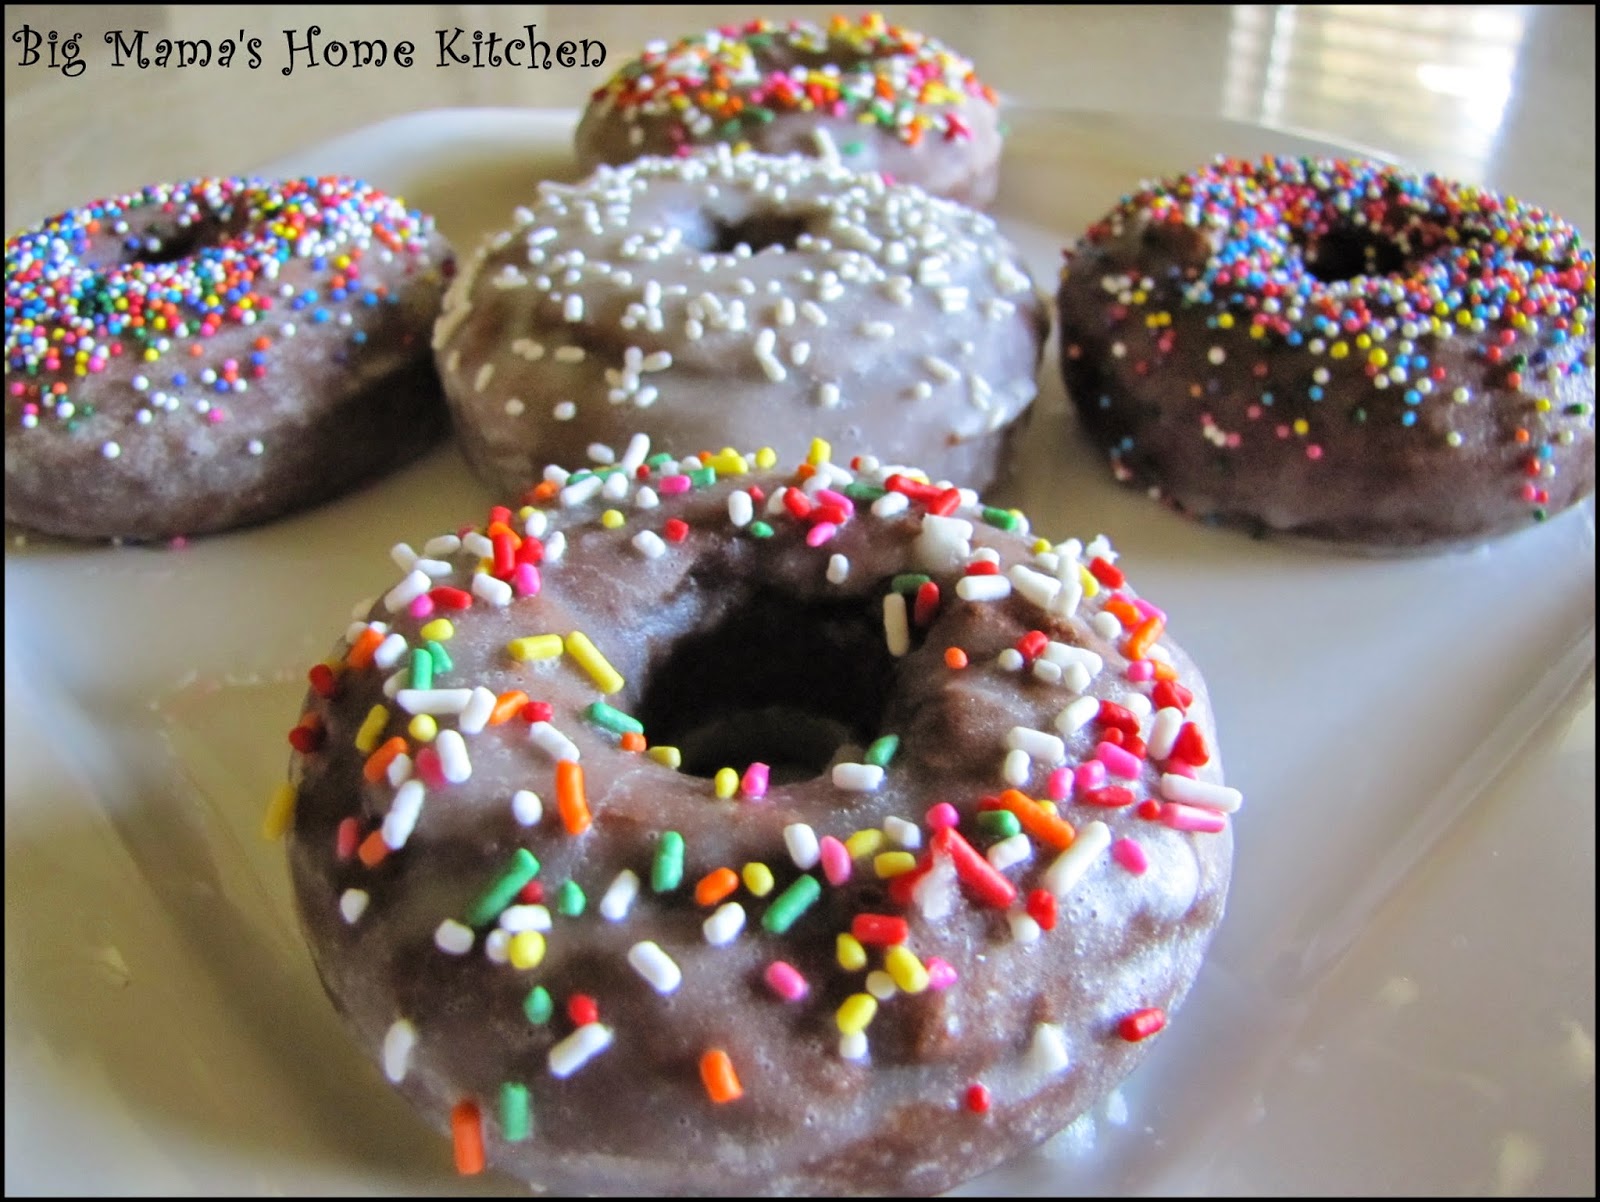
I bought myself one of those cute donut pans last month and have been waiting for the perfect simple recipe to try. I was so excited when Shelly at Cookies and Cups posted a cake mix donut recipe. This recipe would probably work with any cake mix flavor and you can customize the glaze to compliment it. I used a Devil's Food chocolate cake and simple vanilla glaze. These would also be great with a chocolate glaze on the top over the vanilla glaze like Krispy Kreme.
Donut Ingredients:
2 3/4 cups Devil's Food cake mix
2 T unsalted butter, melted
3/4 cup buttermilk
2 eggs
Preheat oven to 400 degrees. Spray donut pan with non-stick cooking spray.
In a large stand mixer bowl, add all ingredients and mix on medium speed for 1 minute until smooth. Transfer batter into large resealable bag, snip the corner, and pipe into donut pan, filling 2/3 of the way full. Note: This recipe makes 12 donuts, so you will need to make in two batches if you only have one donut pan like me.
Bake for 9 minutes, or until donuts have risen and spring back to touch. Let cool in pan for 2 minutes, then turn pan upside down over parchment paper. Let donuts cool while you make the glaze.
Vanilla Glaze Ingredients:
4 cups powdered sugar
1/2 cup milk
2 tsp vanilla extract
In a medium saucepan over low heat, add all ingredients and stir until smooth. Place a donut into vanilla glaze, flip over, and use spatula to help glaze sides of donut. Carefully lift out glazed donut with spatula and place back on wax paper. Quickly add sprinkles before the glaze dries. Repeat with all donuts. Let glaze dry completely before serving. Enjoy!
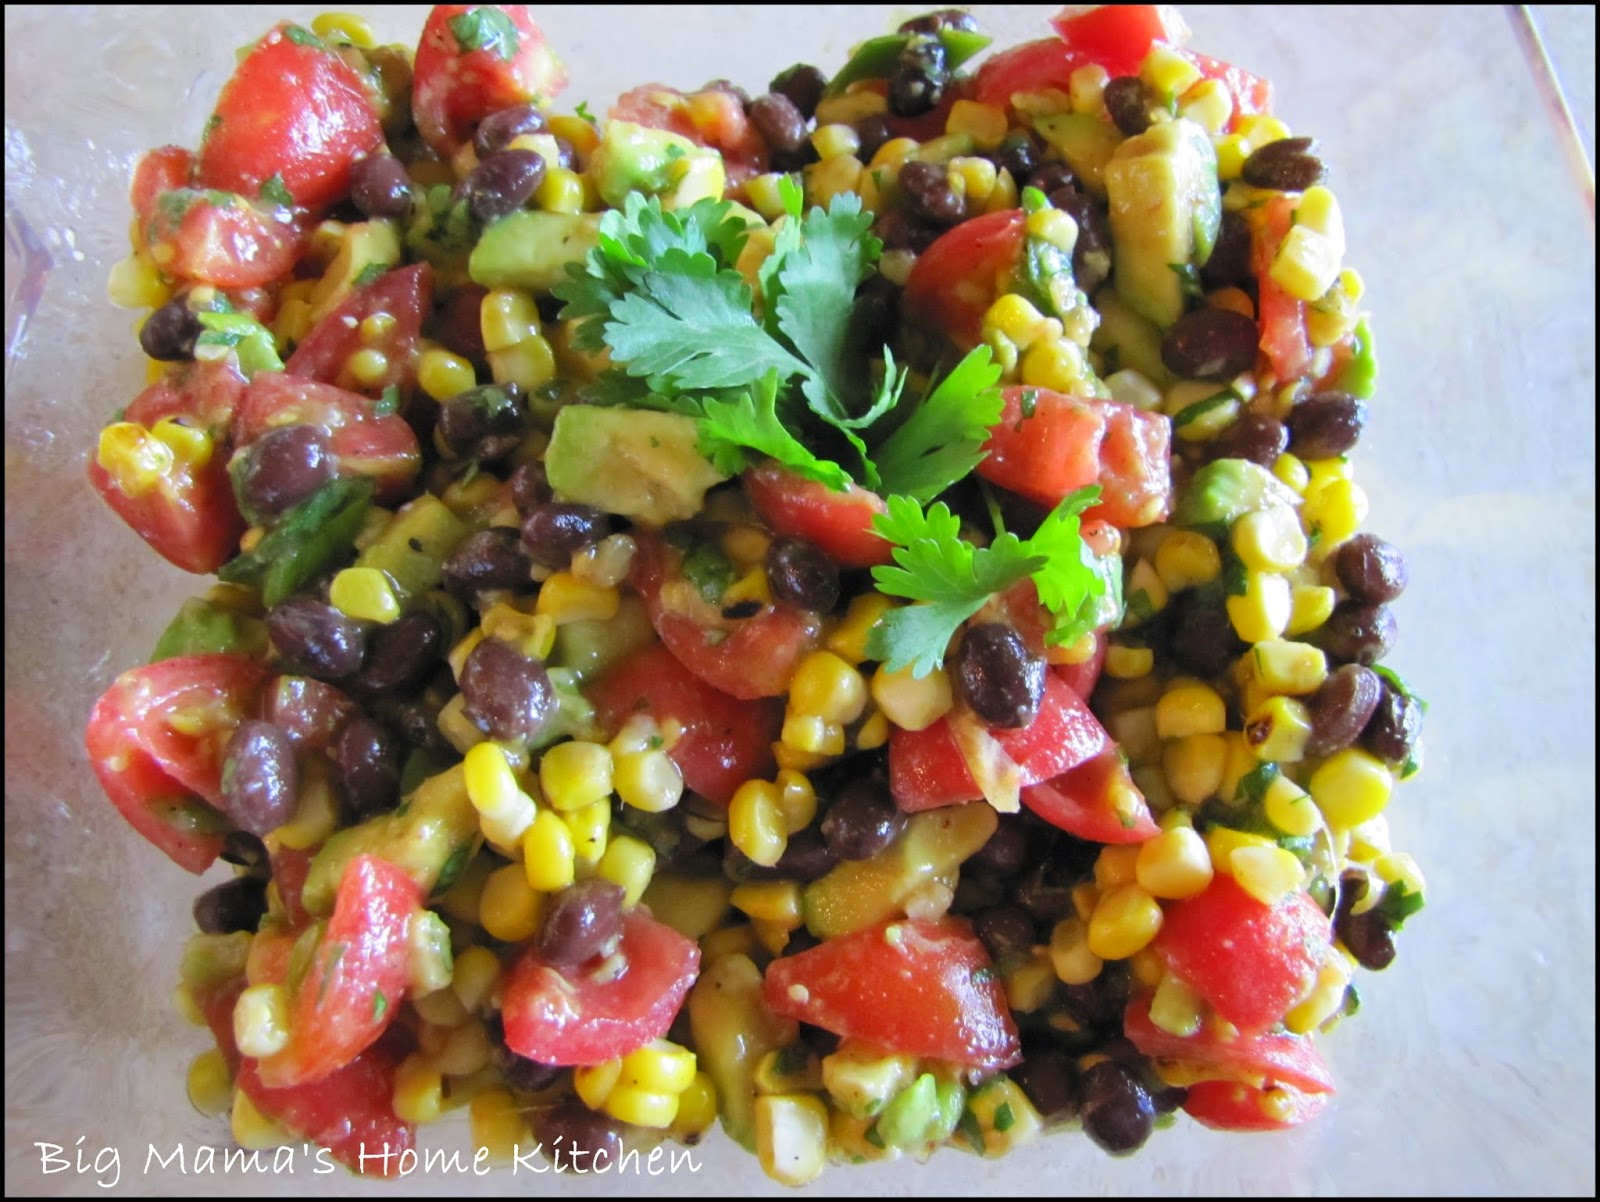
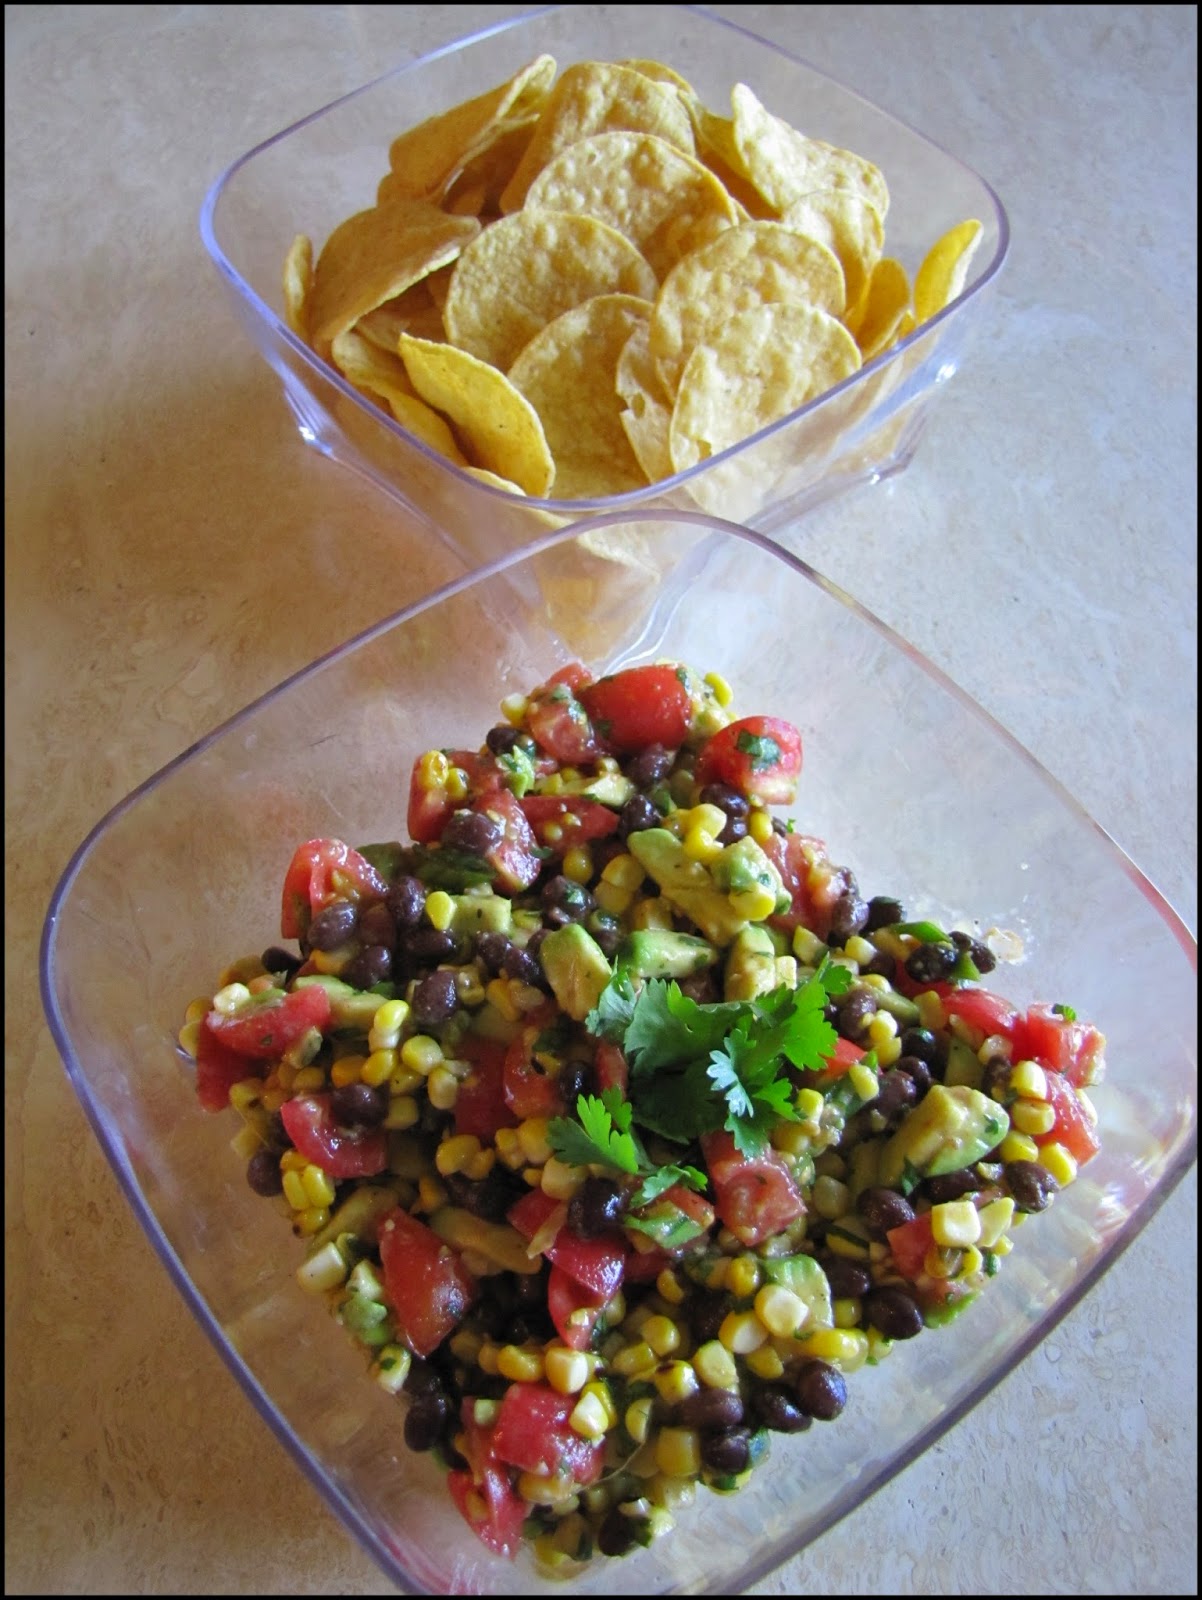
I had an abundance of tomatoes ripen in the garden all at once. I knew that I wanted to make a Mexican style salsa showcasing the tomatoes. I had all the main ingredients in a bowl, then had a hard time figuring out what kind of dressing to make for it. I googled and found almost the exact same recipe that Pam made at For The Love of Cooking, so I used her dressing recipe. This salsa is great served with tortilla chips or fresh tortillas.
Salsa Ingredients:
1/2 pint Cherub or grape tomatoes
2 ears fresh sweet corn, grilled
1 - 15 oz. can black beans, drained and rinsed
1 large avocado, diced (I will use 2 next time since we love them!)
2 T cilantro, chopped
Dressing Ingredients:
3 T canola oil
2 tsp honey
Juice of 1 lime
1 clove garlic, minced
kosher salt
black pepper
cumin
cayenne pepper
In a large bowl, add all the dressing ingredients and whisk well. Add the tomatoes, grilled corn, black beans, and cilantro and toss well to coat. Add the diced avocado and toss gently being careful not to mash them. Taste and adjust seasonings. Refrigerate for 30 minutes. Serve cold with tortilla chips or fresh tortillas. Enjoy!
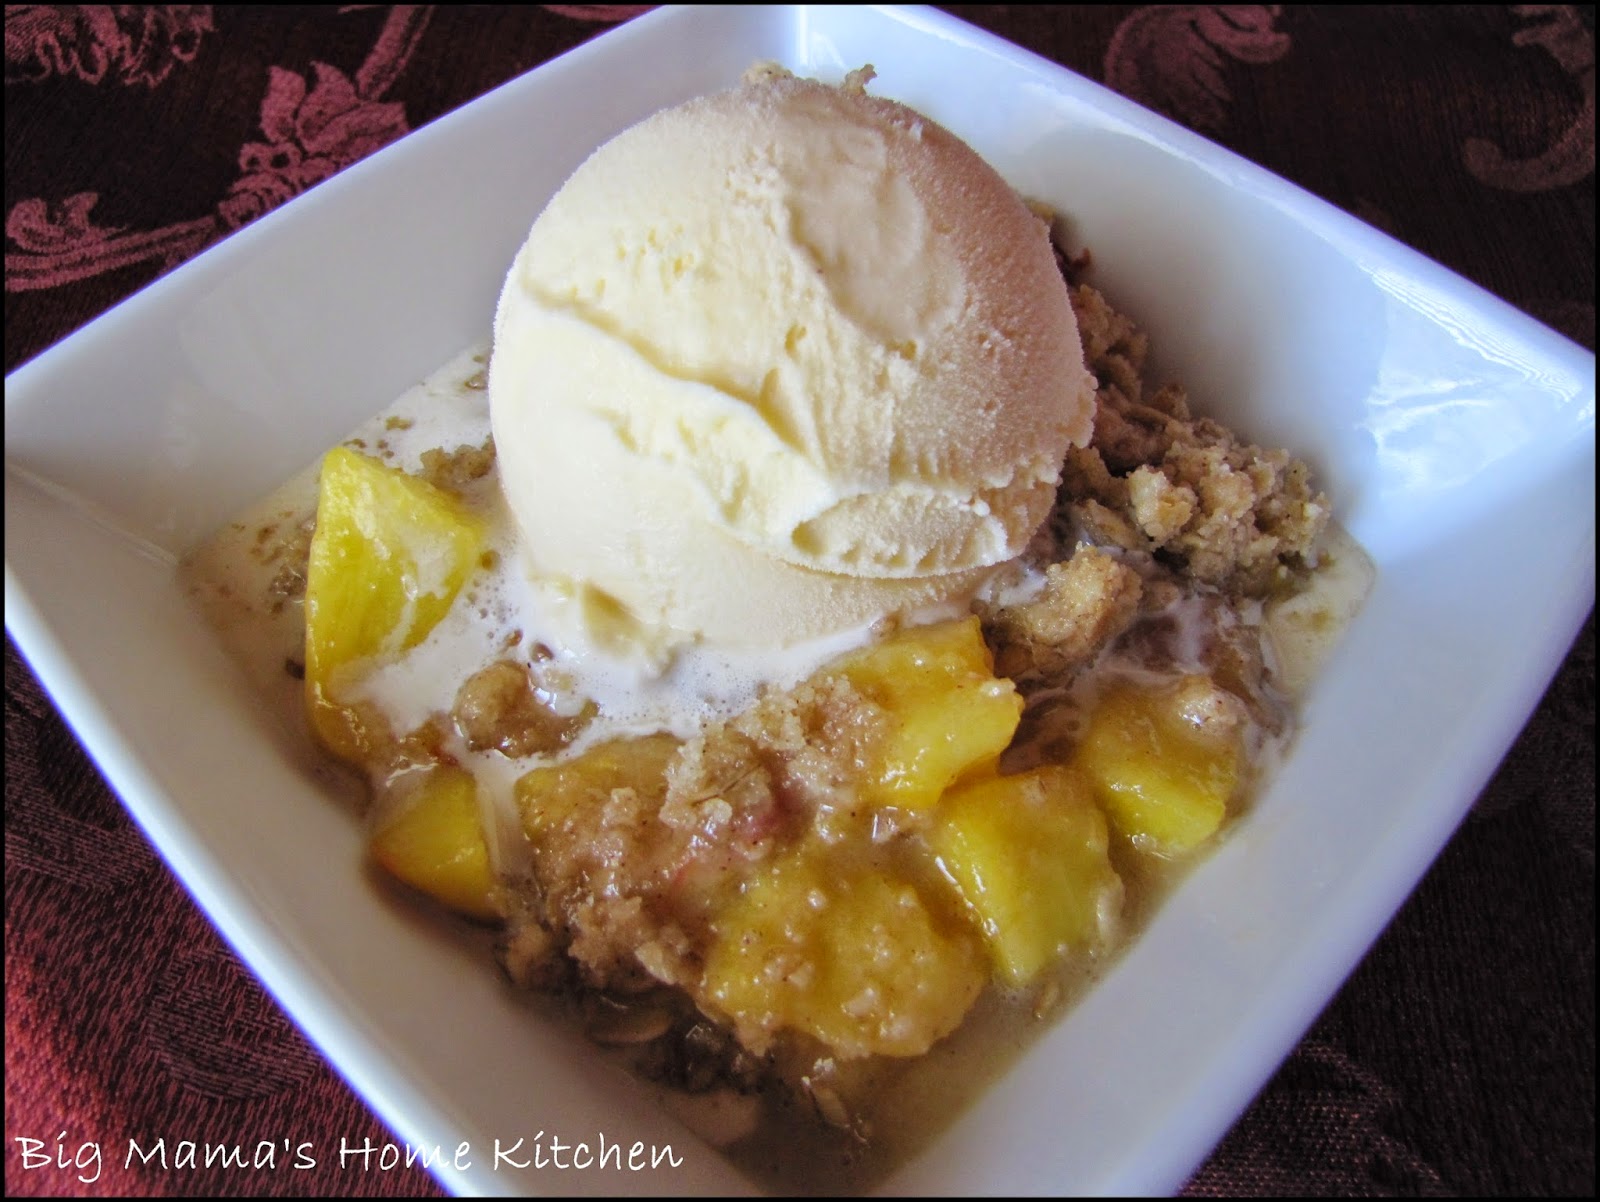
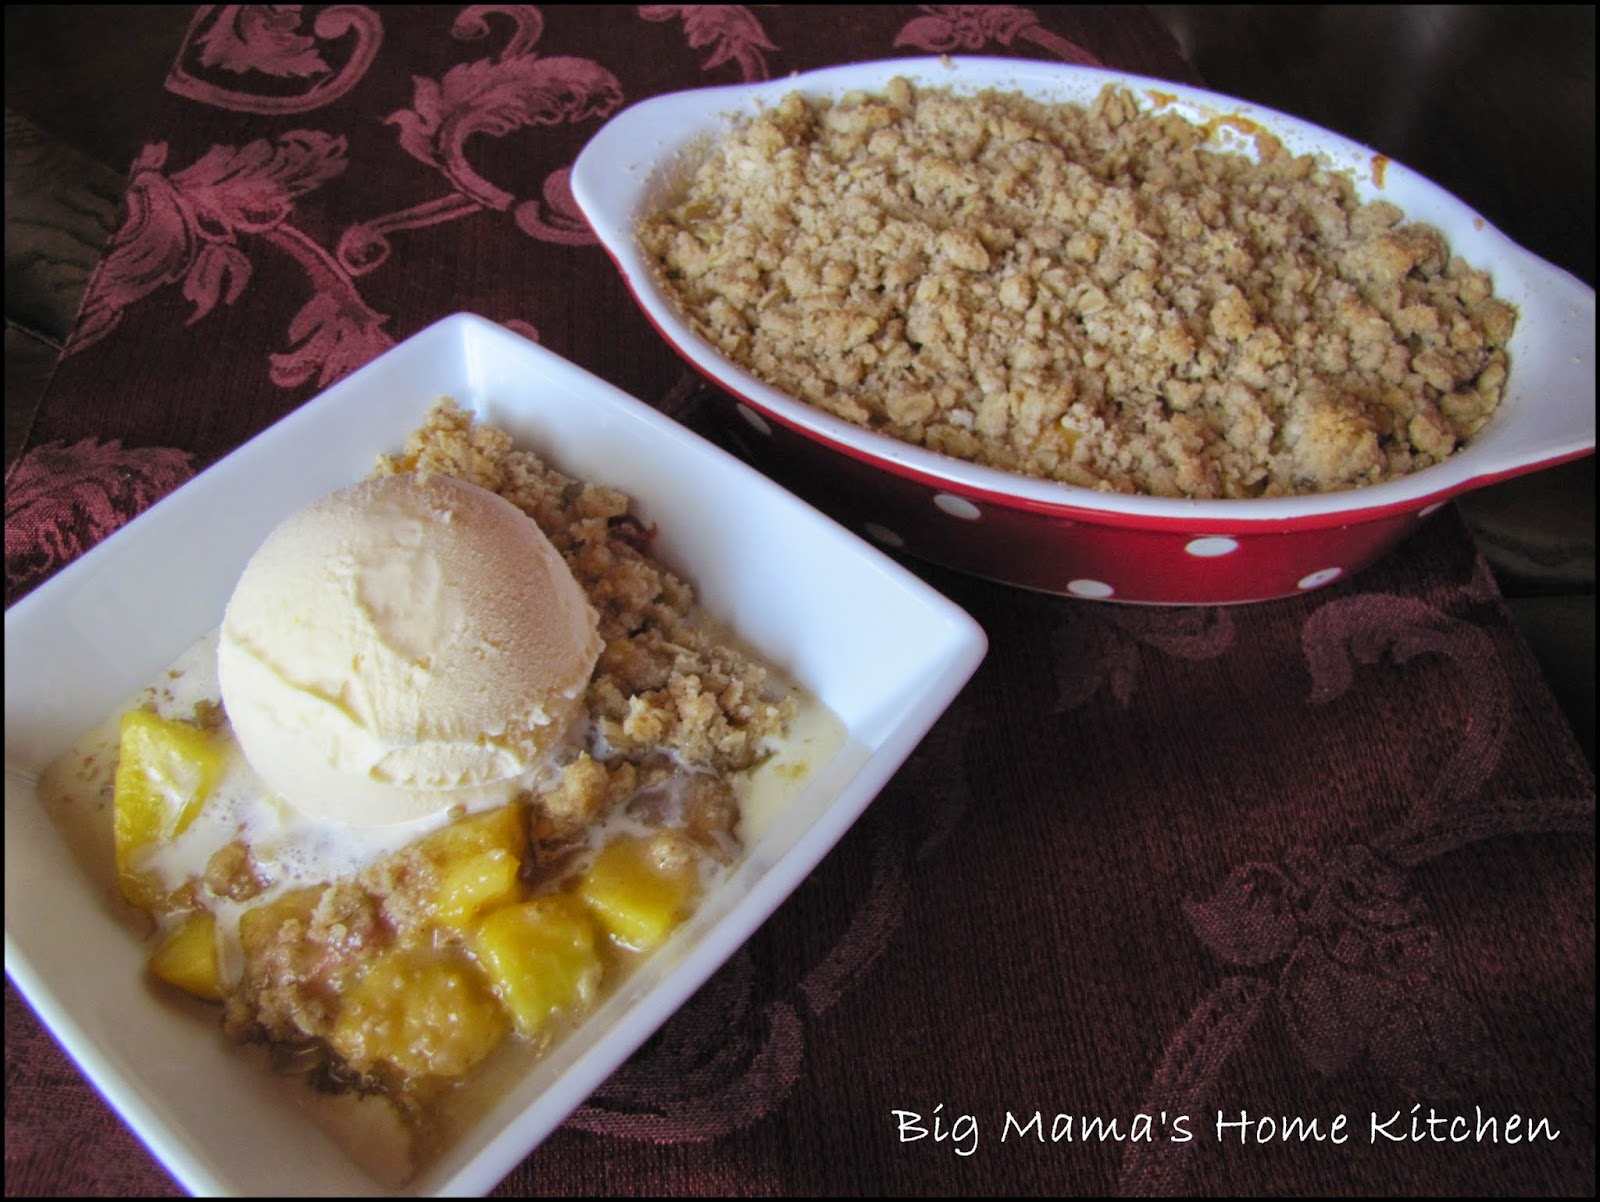
My grocery store finally has some fresh sweet peaches. I was so excited to get home and make either a peach crisp or cobbler. I decided on the crisp since my girls like the oat streusel type toppings best. This recipe was adapted from Ann Burrell/Secrets of a Restaurant Chef. Everything she makes looks delicious so I knew this would be a winner. She used 6 - 6 oz. ramekins to make individual servings. I used 2 mini casserole dishes that hold 3 servings each. You can adjust your baking time depending on the size of dish you use. We ate the peach crisp hot out of the oven with a big scoop of Blue Bell vanilla ice cream, and it was so good.
Filling Ingredients:
8 fresh peaches, peeled, pitted, and cut into chunks
1/2 lemon, zested and juiced
3 T all purpose flour
1/4 cup packed light brown sugar
2 T sugar
1/2 tsp vanilla extract
pinch of salt
Crisp Topping:
1/2 cup all purpose flour
1/3 cup old fashioned oats
1/4 cup packed light brown sugar
1/4 cup sugar
1/2 tsp cinnamon
6 T unsalted butter, cut into pieces
pinch of salt
Preheat the oven to 350 degrees. Butter the ramekins or dishes you plan to use. Line a baking sheet with foil and place ramekins on top.
In a large bowl, add the peaches and the remaining filling ingredients. Toss well to coat. Divide the filling evenly among ramekins.
In a separate large bowl, add all the topping ingredients. Use a pastry blender or fork to work the butter into the dry ingredients until it resembles coarse meal. Sprinkle evenly on top of peach filling.
Bake for 20-25 minutes, or until filling is warm and bubbly and top is golden brown. Enjoy with a big scoop of vanilla ice cream or whipped cream.
Note: The bake time on the dishes I used was 30-35 minutes.
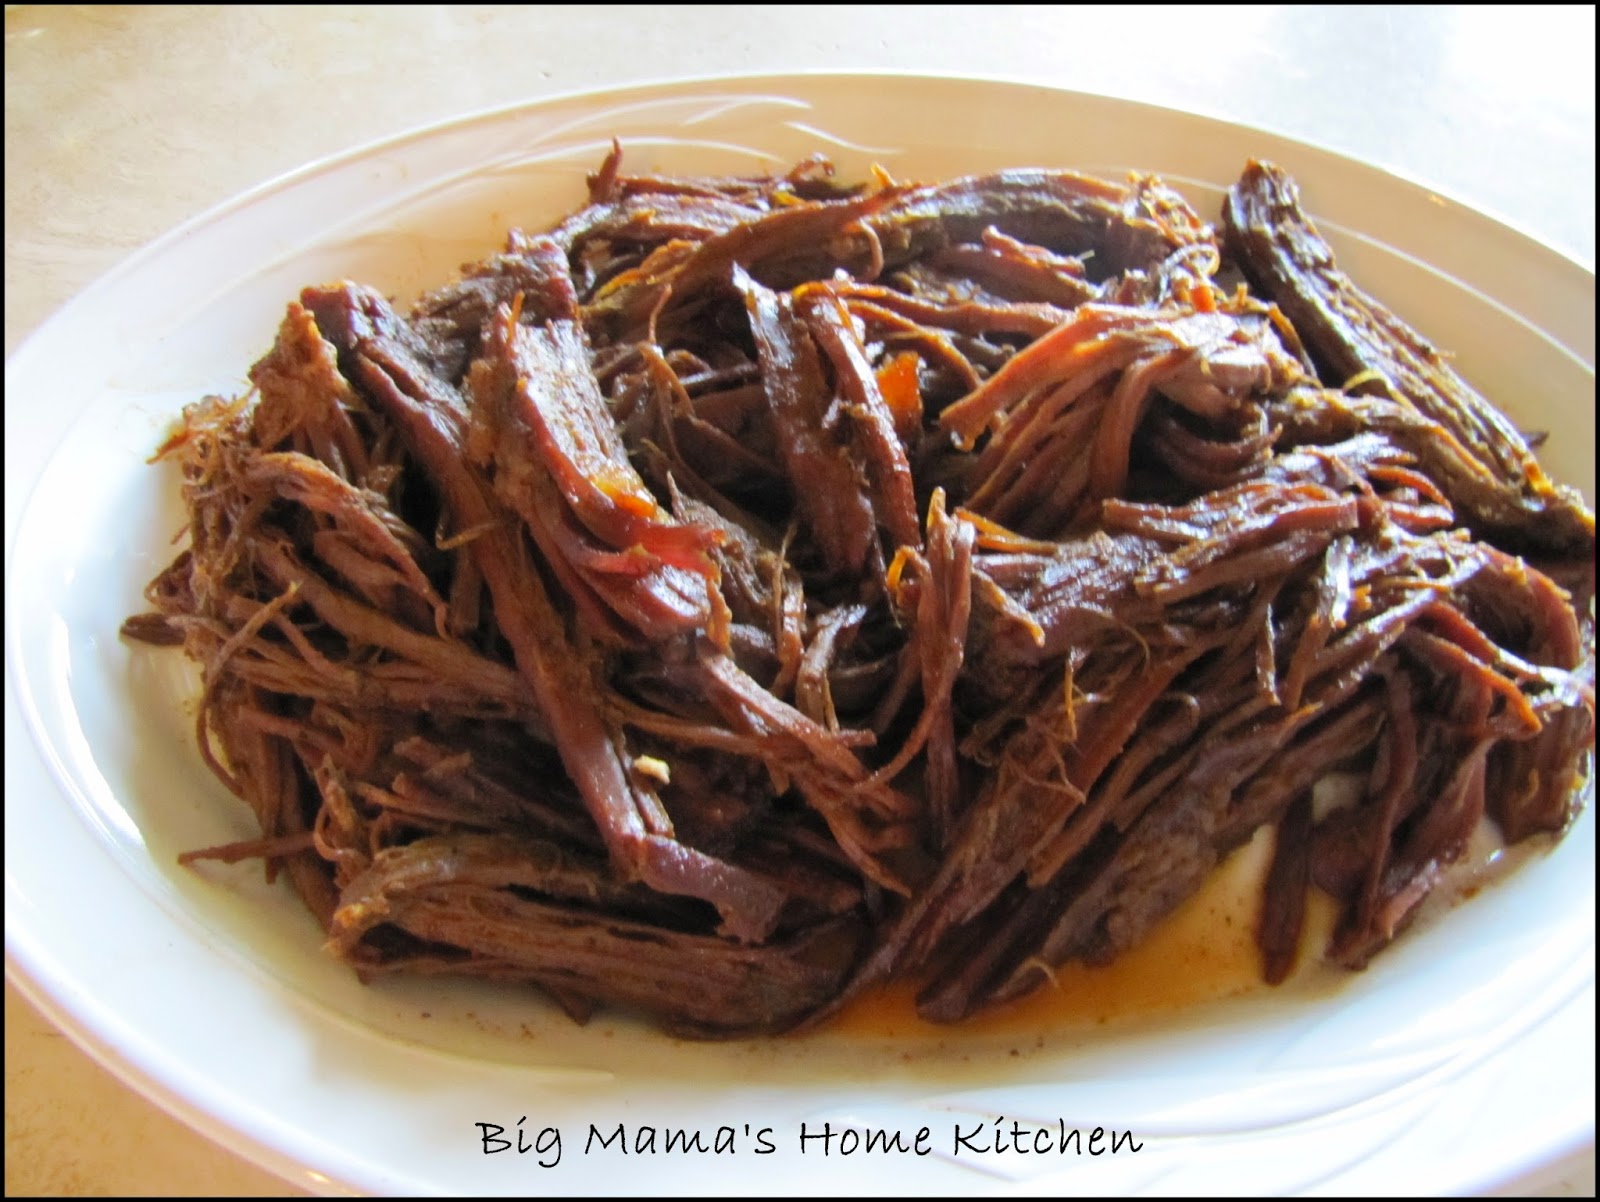
This is a simple brisket with a spicy dry rub that slow roasts in the oven. You can serve with barbecue sauce if you prefer, or drizzle over some of the pan drippings. Either way, it's really good! This is a Paula Deen recipe that I have been making since 2007. I have made some minor changes throughout the years. My family absolutely loves this recipe. Leftovers are great on sliders or as a sandwich.
Ingredients:
4 pound beef brisket, trimmed
2 cans low sodium beef broth
1 T mesquite liquid smoke
2 bay leaves
1 yellow onion, sliced
Dry Rub:
2 T chili powder
1 T kosher salt
1 T garlic powder
1 T onion powder
1 T black pepper (or less if you don't want spicy)
2 T brown sugar
2 tsp dry mustard
1 bay leaf, crushed
Preheat the oven to 325 degrees. Rinse the beef brisket well and place in a large roasting pan.
In a bowl, combine all dry rub ingredients and stir well to combine. Sprinkle generously on both sides of brisket and rub and press into brisket. I usually have extra dry rub leftover and save it in a resealable bag for next time. Roast uncovered for 45 minutes.
Remove the brisket from the oven, and decrease the heat to 300 degrees. Add the beef broth, liquid smoke, bay leaves, and onion to the roasting pan. Cover tightly with foil and return to oven for 3 hours. Check the liquid, and add more beef broth or water if needed, and return to oven until fork tender, about 1 more hour.
Let the brisket rest on a cutting board. You can either slice across the grain into long strips, or shred with the grain. My family prefers brisket shredded. Place on a serving platter and pour over some of the pan drippings. Enjoy!
I'm back in the kitchen! We are home from vacation, unpacked, and settled into our summer routine. We stay up late, sleep in, and just relax during the day. My girls wanted to make cookies, but it's just too hot to turn on the oven during the day. Luckily, we had all the ingredients for ice cream.
I looked in the pantry for some inspiration on a new and exciting flavor. We have a whole bag of mini Reese's peanut butter cups. I thought a peanut butter ice cream base would be better than vanilla. The recipes I found are not custard based, so no standing over the stove top stirring...bonus! This is a very simple ice cream recipe that can be whipped up in 5 minutes, then frozen sooner than you can run to the grocery store to buy a gallon of ice cream. Peanut butter lovers beware, this is highly addictive!
Ingredients:
1 cup creamy peanut butter
2/3 cup sugar
1 cup milk
2 cups heavy cream
2 tsp pure vanilla extract
25 mini Reese's peanut butter cups, quartered
In a large stand mixer bowl, cream together the peanut butter and sugar until smooth. Add the milk and beat on low until combined and the sugar is dissolved, scraping down the sides and bottom as needed. Remove bowl from mixer and add the heavy cream and vanilla. Whisk just until combined. Pour into ice cream maker and freeze according to manufacturer's instructions. During the last 5 minutes, add the quartered peanut butter cups. Transfer to an airtight container and freeze for 2 hours until firm. Enjoy!
We are on vacation this week in Florida. We rented a very nice 2 bedroom condo on the beach. It has a fully stocked kitchen and we stocked the fridge and pantry, so I've been providing breakfast, lunch, and snacks. There is no 24 hour room service. We don't have a hotel "housekeeper", that would be me. We also don't have fresh linens or beach towels daily, that would be my responsibility as well using the washer and dryer in our condo. But you know what...it's all worth the 15 hours it took to drive here and taking care of our family since we left home.
Our family is together with no work, school, or outside activities to worry about. We are all happy, healthy, and enjoying eachother's company. I wish that every family could take a week off from "life" and just be together. We are very lucky and I appreciate every breath that I take. Take some time out even if it's a "staycation" to enjoy your family and be together. Happy Summer!!!
My girls spent the weekend with their Mimi and Dandad playing, eating, shopping, and watching movies. I missed them so much and couldn't wait for them to come back home. I decided to make them a special frozen treat to enjoy while we played in the backyard on Sunday afternoon. I bought some popsicle molds from Wal-Mart last week so we can make popsicles all summer.
I made two kinds of popsicles: Strawberry/Pink Lemonade and Strawberry/Vanilla Yogurt. The flavor combinations are endless. All you need is some fresh fruit, fruit juice, yogurts, and flavored extracts.
Strawberry/Pink Lemonade Popsicles:
1 cup strawberries, hulled
1/2 cup prepared pink lemonade
Splenda to sweeten, if needed
Strawberry/Vanilla Yogurt Popsicles:
1 cup strawberries, hulled
1/2 cup Dannon light 'n fit vanilla yogurt
1 tsp pure vanilla extract
Splenda to sweeten, if needed
In a blender, add all ingredients for desired popsicle. Blend until well combined. Pour into popsicle molds and freeze, about 4 hours. Run bottoms of popsicle molds under warm water to help release. Enjoy!