Monday, March 12, 2012

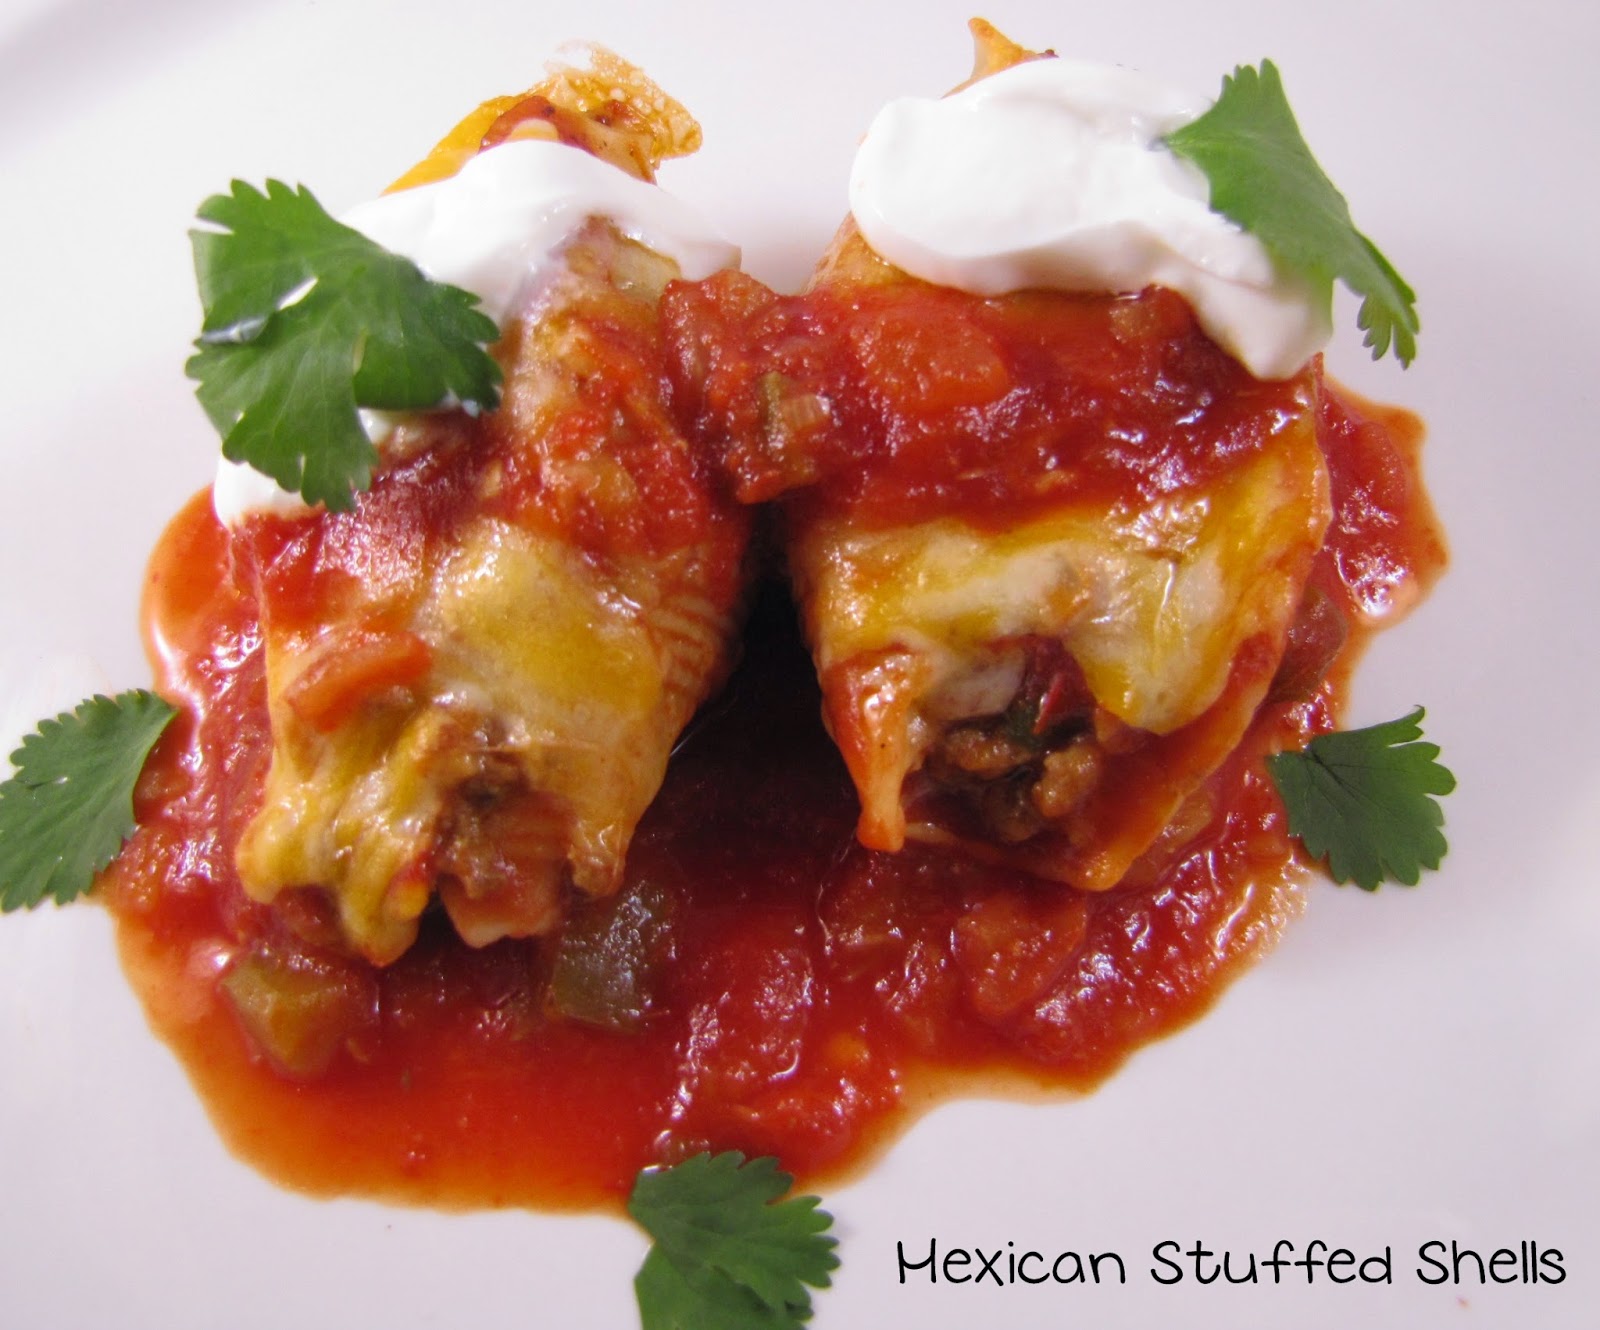
Mexican Stuffed Shells


Happy Spring Break! My girls are home for the week, and we have lots of fun stuff planned. Dinner is always a priority, so when I saw these Mexican Stuffed Shells on Pinterest, I couldn't stop thinking about them.  Jumbo pasta shells are stuffed with creamy, seasoned ground taco beef, then topped with a taco sauce/hot sauce mixture and shredded cheese.  They were so easy and simply delicious!

Ingredients:

20 jumbo pasta shells, cooked al dente
1 lb lean ground beef
1/2 yellow onion, chopped
3 garlic cloves, minced
1 packet low sodium taco seasoning
1 cup water
4 oz. lite cream cheese
1/4 cup cilantro
1 cup hot sauce (I used Pace Picante medium)
1 cup taco sauce
1 cup shredded cheddar/jack cheese
Lite sour cream, for topping
Cilantro, for topping

Preheat oven to 350 degrees.  Spray a 9x13 baking dish with non-stick cooking spray.  Cook jumbo pasta shells in salted boiling water until al dente.  Drain and set aside on a baking sheet in a single layer.

In a large skillet over medium high heat, brown the ground beef until cooked through.  Add the onion and cook another 5 minutes.   Add the garlic and cook another minute.  Stir in the taco seasoning and water.  Cover and reduce heat to low.  Simmer for 5 minutes.  Turn off the heat, then stir in the cream cheese and cilantro.  Set aside to cool slightly.

In a small bowl, stir together the hot sauce and taco sauce.  Spread a layer into the prepared baking dish.

Spoon meat mixture into each of the cooked pasta shells and place side by side in baking dish open side up. Top with remaining sauce mixture and sprinkle shells with shredded cheese.

Cover with non-stick foil and bake for 30 minutes.  Serve immediately and top with lite sour cream and cilantro.  Enjoy!

Recipe slightly adapted from The Way to His Heart

Pin It

Thursday, March 8, 2012

{Diet} Coca Cola Sheet Cake


So...today is my 40th Birthday, and since I love chocolate so much, I thought I would share this delicious, rich chocolate cake with you.  Hope you enjoy it as much as we did!

For the Cake:

2 cups all purpose flour
2 cups sugar
1/2 tsp salt
1 tsp baking powder
1/2 tsp cinnamon

1 cup unsalted butter (2 sticks)
1/4 cup unsweetened cocoa powder
1 cup Coca Cola (I used Diet)
1/2 cup buttermilk

2 eggs
2 tsp pure vanilla extract

Preheat oven to 350 degrees.  Spray a large 15x3x1 inch jelly roll pan with non-stick cooking spray.

In a large bowl, whisk together the flour, sugar, salt, baking powder, and cinnamon.

In a medium sauce pan over medium heat, whisk together the butter, cocoa powder, coca cola, and buttermilk until it comes to a boil.  Remove from heat and whisk into dry ingredients.  Add the eggs and vanilla and whisk until combined.

Bake for about 15-18 minutes, or until toothpick tester comes out clean.

For the Icing:

1/2 cup unsalted butter (1 stick)
1/4 cup unsweetened cocoa powder
1/2 cup Coca Cola (I used Diet)
4 cups powdered sugar, sifted

In a medium sauce pan over medium heat, whisk together the butter, cocoa powder, and Coca Cola.  Bring to a boil, turn off the heat, and whisk in the powdered sugar until smooth. You could always add some chopped up pecans now, if you prefer.  Pour over the warm cake.  Let cool until the icing has set.  Enjoy warm.


Pin It

Recipe from May Flaum

Tuesday, March 6, 2012

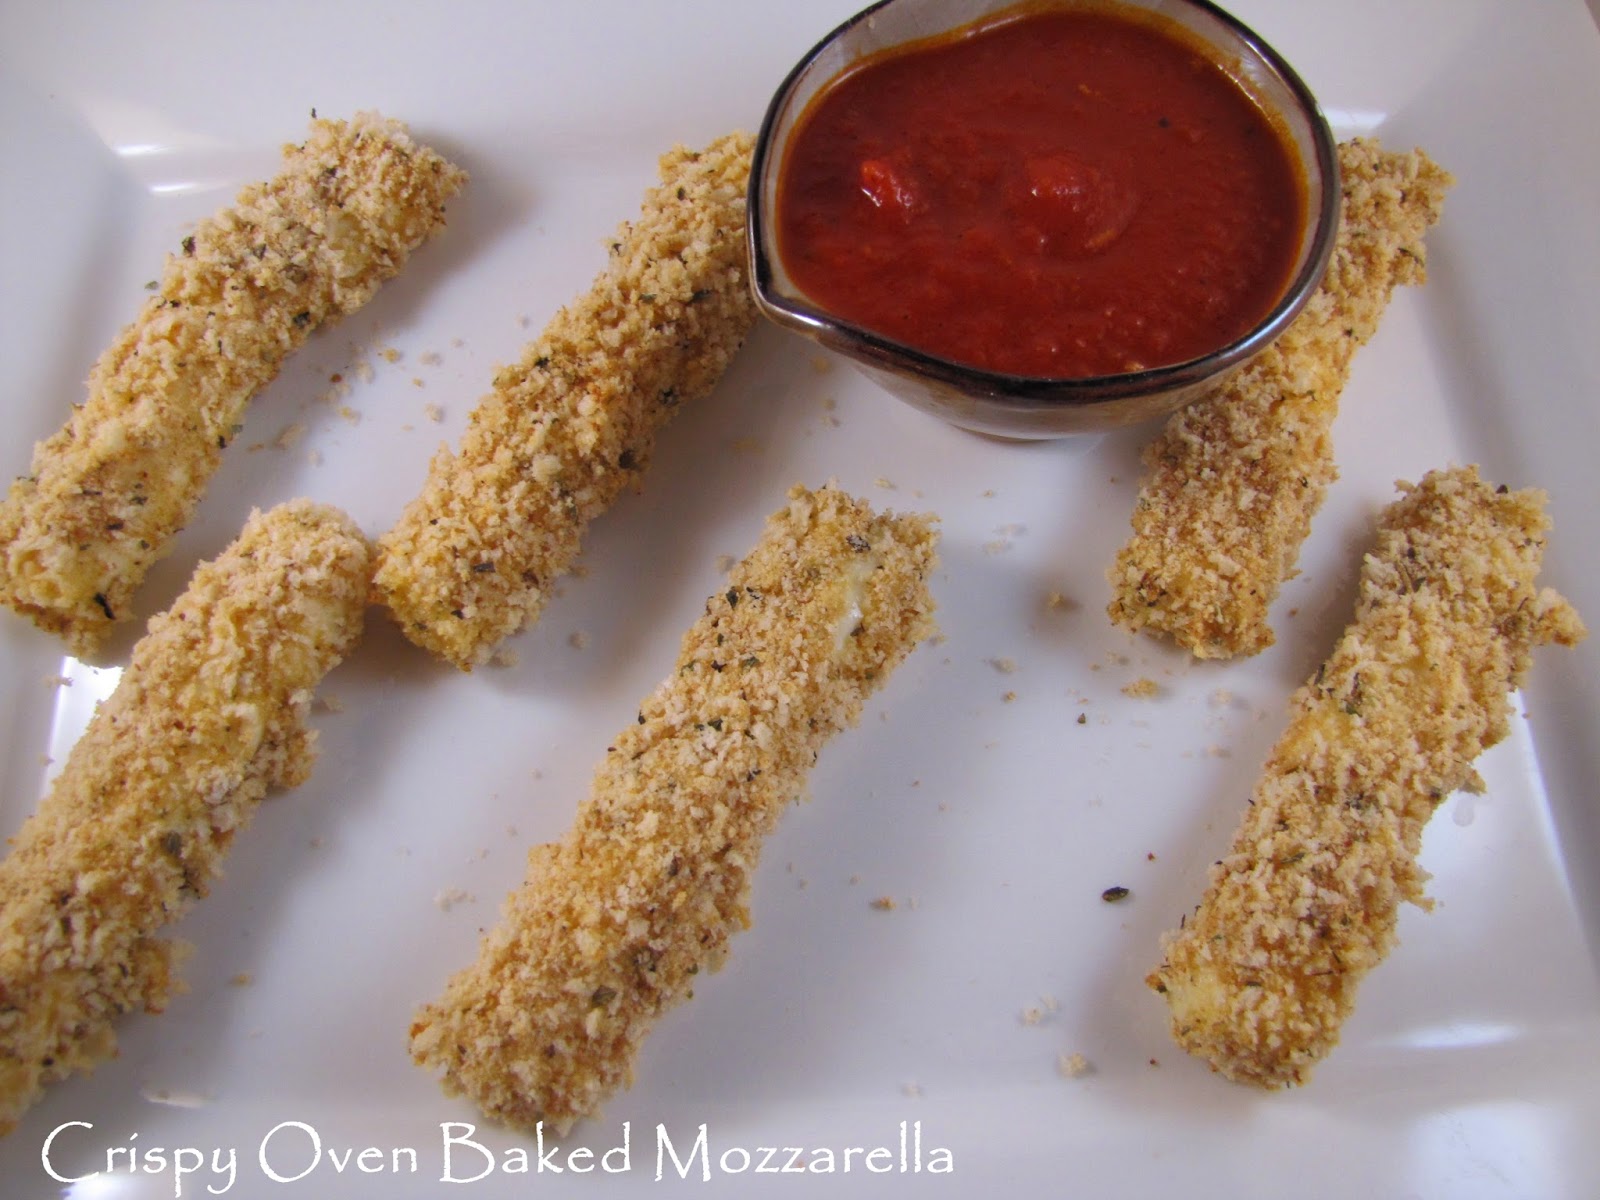
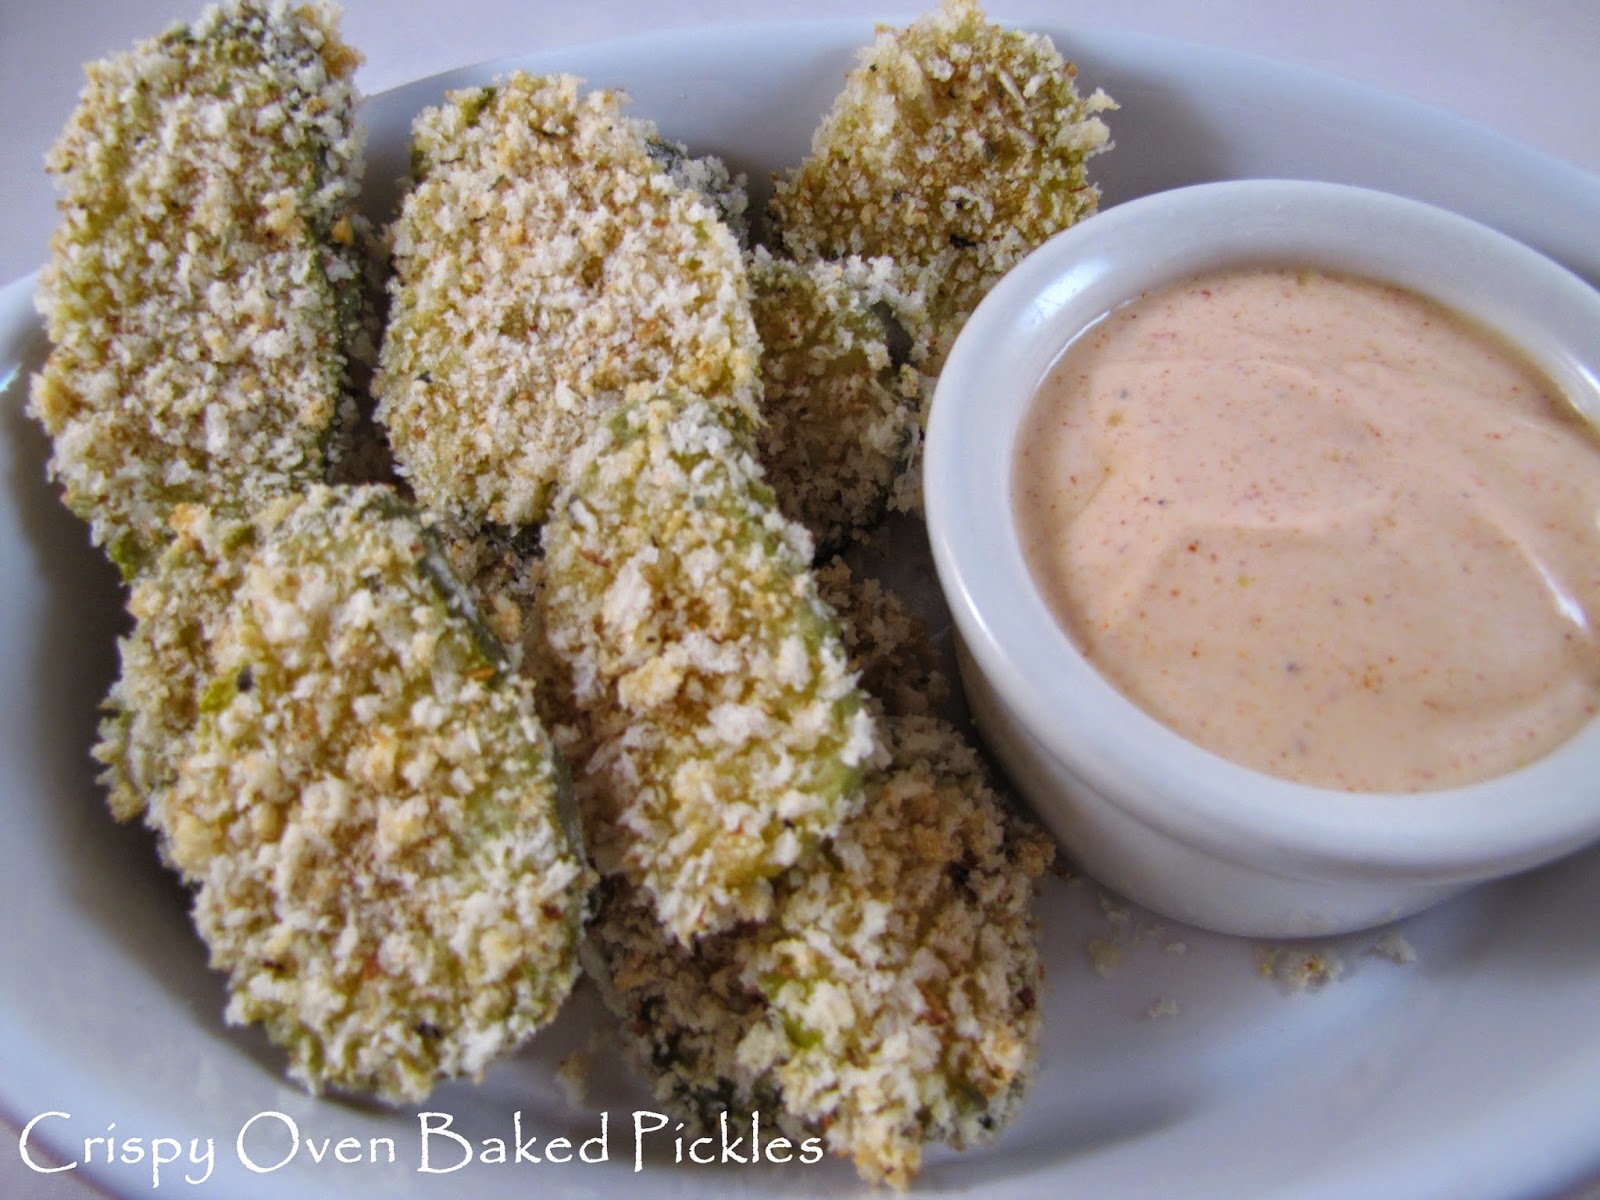
Crispy Oven Baked Cheese Sticks and "Unfried" Pickles


Pin It

This is a healthier way to enjoy the typical fried appetizers you love. They are baked, not fried, and get their nice crispy coating from a mixture of panko and bread crumbs. You can spice up the coating mixture with whatever you are in the mood for, i.e Italian herbs, smoky cumin, spicy cayenne. Choose your favorite dipping sauce and you are ready for a real treat.

Ingredients:

1 package low-skim mozzarella cheese sticks
3 egg whites + 1 T water
3/4 cup panko bread crumbs
1/4 cup Italian bread crumbs
1/2 tsp Italian seasoning
1/4 tsp garlic powder

Preheat oven to 400 degrees.  Line a baking sheet with foil and set a baking rack on top.

Unwrap the cheese sticks and set aside.  Stir together the egg whites and water in a shallow dish.  In another shallow dish, stir together the panko, bread crumbs, and seasonings.

Dip the cheese sticks into the egg whites, then roll around in the coating mixture.  Set on prepared baking sheet rack.  Repeat for all cheese sticks.  Starting with the first cheese stick, repeat the dipping and coating process again.  Repeat for all cheese sticks.  Spray with olive oil cooking spray.

Bake for 10 minutes, or until cheese is soft but not melting.  Remove from oven and sprinkle with kosher salt.  Arrange on serving platter and serve with your favorite dipping sauce.  I used some homemade marinara that I store in the freezer in small ziplock freezer bags.

Use the same process for the dill pickle slices.  I used Buttermilk Garlic Dip for the pickles.

Try my recipes for Baked Onion Rings too.

Friday, March 2, 2012

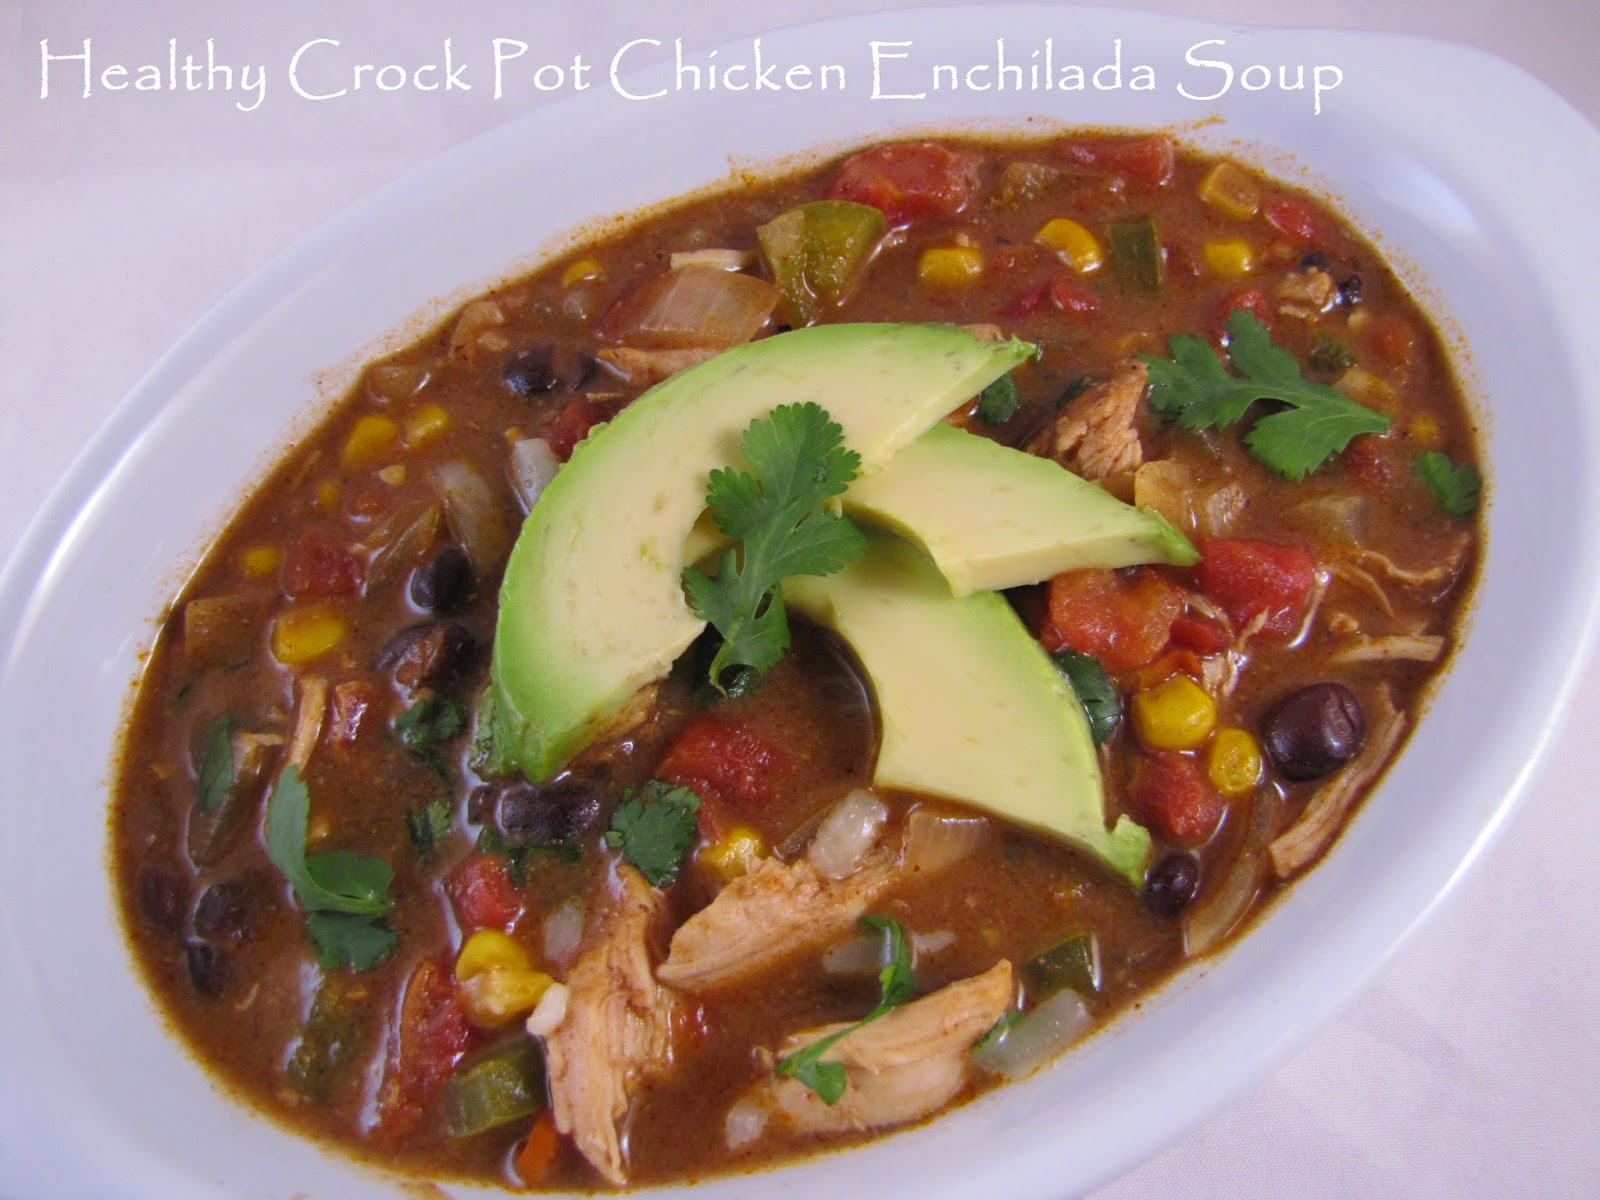
Healthy Crock Pot Chicken Enchilada Soup


Pin It

I love healthy, flavorful soups, especially when they are quick and easy to make.  I found this recipe on Pinterest recently and saved it to my Soups board.  This soup starts with a roux based sauce on the stove top, then you add all the ingredients to the crock pot and let it simmer all day long.  The chicken is so moist and the soup has an amazing rich smoky flavor. You can top it with your favorites, like shredded cheese, sour cream, green onions, olives, jalapenos, etc.  I topped mine with sliced avocados, and my hubby and kids always use shredded cheese on all soup.

Ingredients:

3 T olive oil
3 T flour
1 1/2 cups chicken broth
1 cup 2% milk
1 - 15 oz. can enchilada sauce
2 tsp cumin
1 tsp paprika
1 tsp chili powder
1 tsp Mexican oregano
1/4 tsp garlic powder
1 - jalapeno, finely diced
1 - green bell pepper, chopped
1 - yellow onion, chopped
1 - 15 oz. can corn, no salt added
1 - can black beans, drained and rinsed
1 - can mild Rotel tomatoes, with juice
1 - lb boneless, skinless chicken breasts
kosher salt, to taste
black pepper, to taste
Toppings of choice: shredded cheese, avocados, sour cream, green onions, olives, jalapenos

In a medium sauce pan over medium heat, melt the butter and whisk in the flour.  Cook for a minute, then stir in the chicken broth and milk.  Bring to a boil, lower heat, and simmer until thick, whisking constantly.  Add the enchilada sauce, cumin, paprika, chili powder, Mexican oregano, and garlic powder and whisk to combine.  Turn off heat.

In a crock pot, add the jalapeno, green bell pepper, onion, corn, black beans, and Rotel tomatoes (with juice) and stir.  Place the chicken breasts on top of veggies and pour the sauce all over.  Cover and cook on low for 6-8 hours or on high for 4 hours, or until chicken is cooked through.

When you are ready to serve, remove the chicken and shred.  Add it back to the soup and stir.  Taste and season with salt and pepper, if needed.  Top with your favorite toppings. Enjoy!

Adapted from Dainty Chef

Monday, February 27, 2012

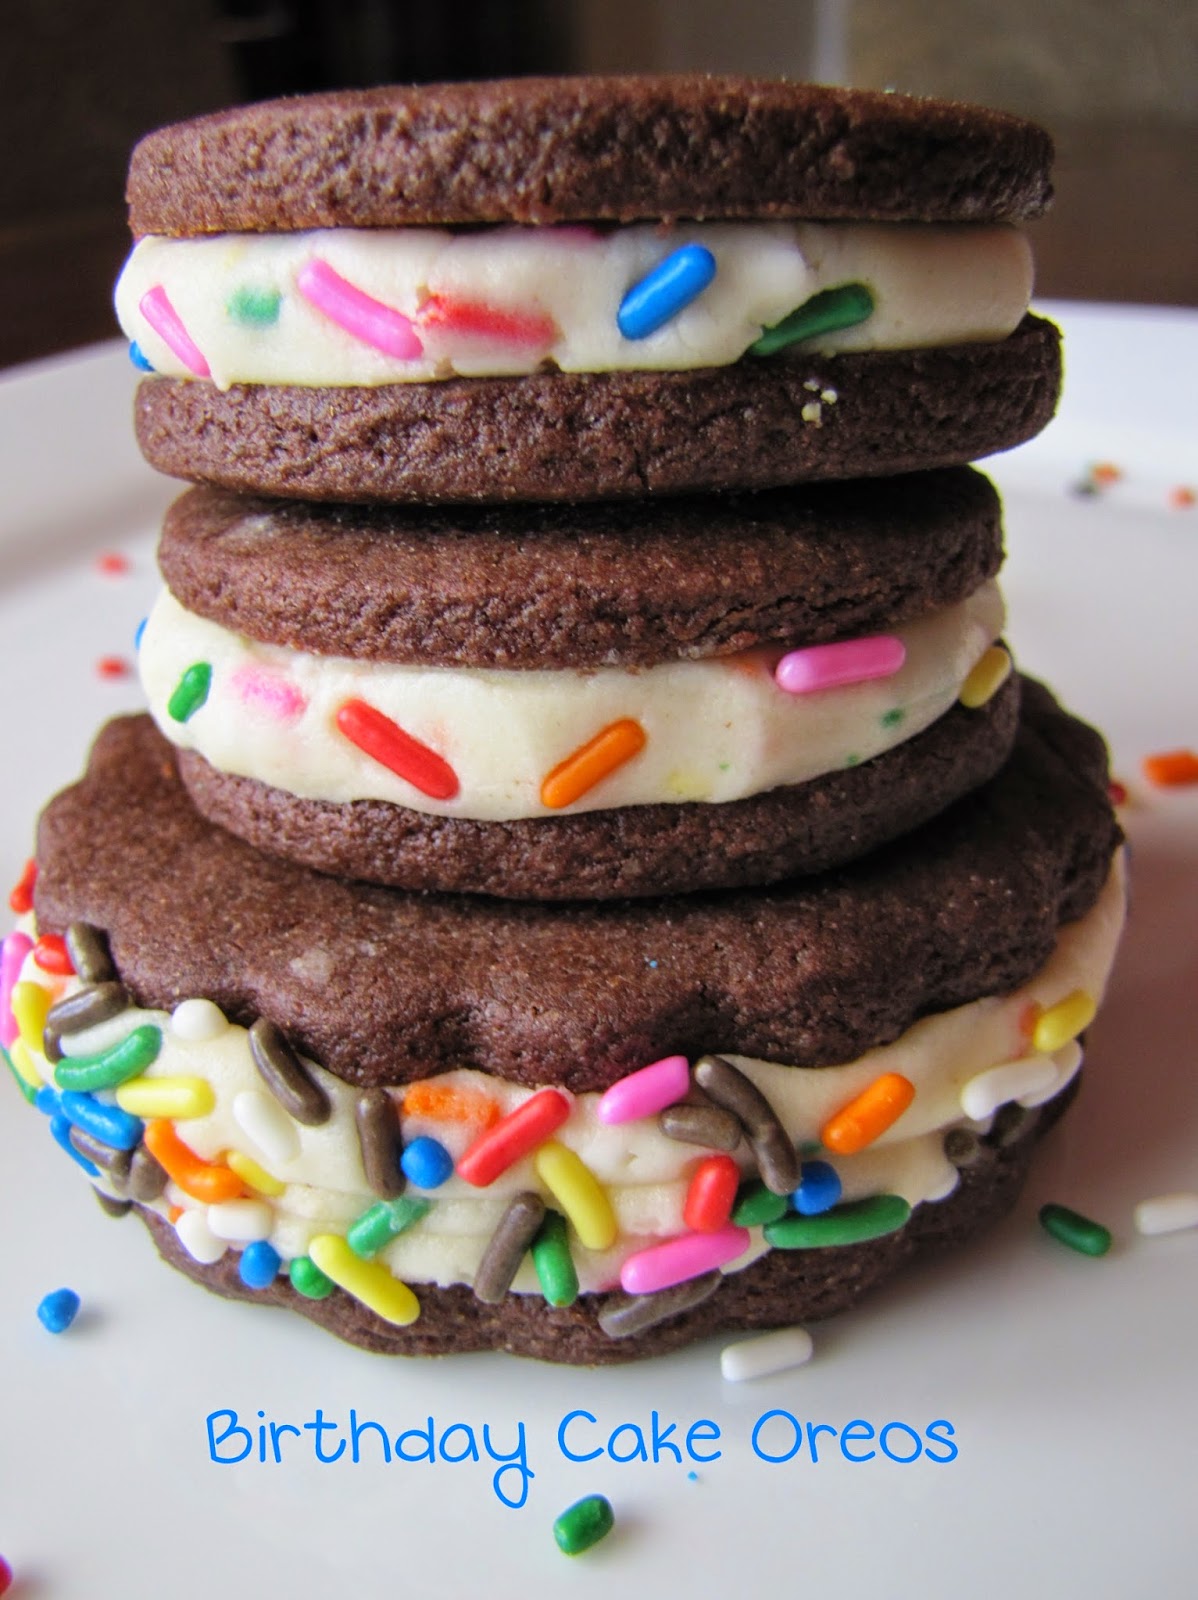
100th Birthday Cake Oreo Cookies & New Blog Design


Pin It


Did you notice my new awesome blog design?  Ashton from Something Swanky not only creates original and drool worthy desserts...she also creates custom blog designs.  Ashton took my vision and made it come to life at a very affordable price.  I just LOVE opening up my blog every morning and seeing the cheerful colors and polka dots!  You can see more examples of  Ashton's custom blog designs here under the Design Gallery on the right side bar.   Go visit Something Swanky's Etsy Shop to get started!  

I'm working on creating a visual recipe index, but for now, you can find recipes by browsing the categories on the right or using the search box.  There's a new "Printer Friendly" button at the end of each post where you can choose to remove the images and delete my ramblings so you are left with just the recipe to print.

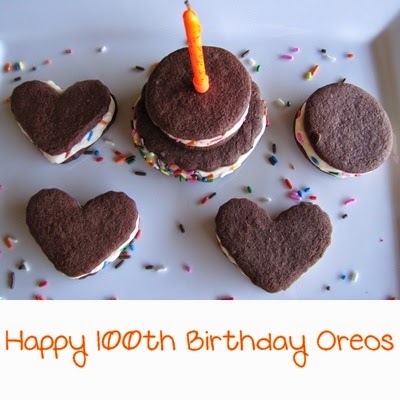
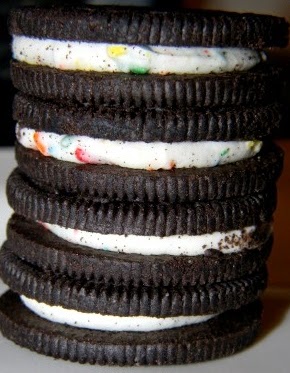
Now...let's talk about the Birthday Cake Oreo Cookies!  Aren't they pretty?


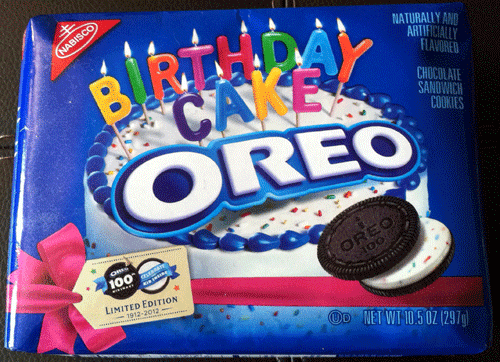
I walked into Super Target for my weekly grocery and household shopping, and I saw these on the front aisle of good snack food.  Oreo is celebrating 100 years of the best cookie ever with these Birthday Cake Oreos.


I've made moist Homemade Oreos before using cake mix, but this homemade version is from scratch using a chocolate cookie recipe from My Kitchen Addicition.  I created the filling that tastes like birthday cake by  adding cake mix and french vanilla creamer to homemade buttercream frosting.  The chocolate cookies are not very sweet on their own, but when combined with the filling, they are amazing!

Cookies:

1 cup (2 sticks) unsalted butter, softened
1 cup granulated sugar
1 egg
1 tsp pure vanilla extract
2 cups all purpose flour
3/4 cup unsweetened cocoa powder
1 1/2 tsp baking powder
pinch of salt

In a large stand mixer bowl, cream together the butter and sugar until light and fluffy.  Add the egg and vanilla and beat until combined.  

In a separate bowl, whisk together the flour, cocoa powder, baking powder, and salt.  Add to the wet ingredients and mix just until combined.

Divide the dough in half, shape into disks, and wrap in plastic wrap.  Refrigerate for 1 hour.

After the dough has chilled, preheat the oven to 350 degrees.  Line two baking sheets with parchment paper.

Take one disk of cookie dough and roll out on lightly floured work surface to about 1/4 inch thickness.  Cut into desired shapes and place on prepared cookie sheets.  Bake for 12 minutes, then transfer to wire rack to cool completely.

Birthday Cake Filling:

1/2 cup (1 stick) unsalted butter, softened
1/4 cup Crisco shortening
1 Tbsp pure vanilla extract
1 cup yellow cake mix, sifted
3 cups powdered sugar, sifted
5 Tbsp french vanilla creamer (half n half, cream, or milk can be used)
1/2 cup sprinkles

In a large stand mixer bowl, cream together the butter, shortening, and vanilla until smooth.  Add the sifted cake mix and powdered sugar.  Slowly turn on the mixer and add the creamer.  Add more creamer if needed to make thick frosting.  Add the sprinkles and mix just until incorporated throughout.

Assemble the cookies by piping a thick layer of frosting on the bottom of a cookie and placing another cookie on top.  You can add more sprinkles to the sides of frosting by hand or by rolling into sprinkles.  Enjoy!

Be sure to grab a new button too!  The html code is on my right sidebar.

Tuesday, February 14, 2012

Moist Date Bars


My Mom makes the most fabulous date pinwheel cookies every Christmas holiday season for us to snack on.  I asked for her to pick up some dates at the fancy specialty grocery store she frequents so we could make cookies on Christmas eve.  She brought over the best Medjool dates I've ever tasted...seriously, they were like candy.  We spent Christmas eve making frosted sugar cookies for Santa and having so much fun with our girls that we never made the cookies.  I put the dates in the freezer to keep fresh, planning to use them when life slowed down a bit. 

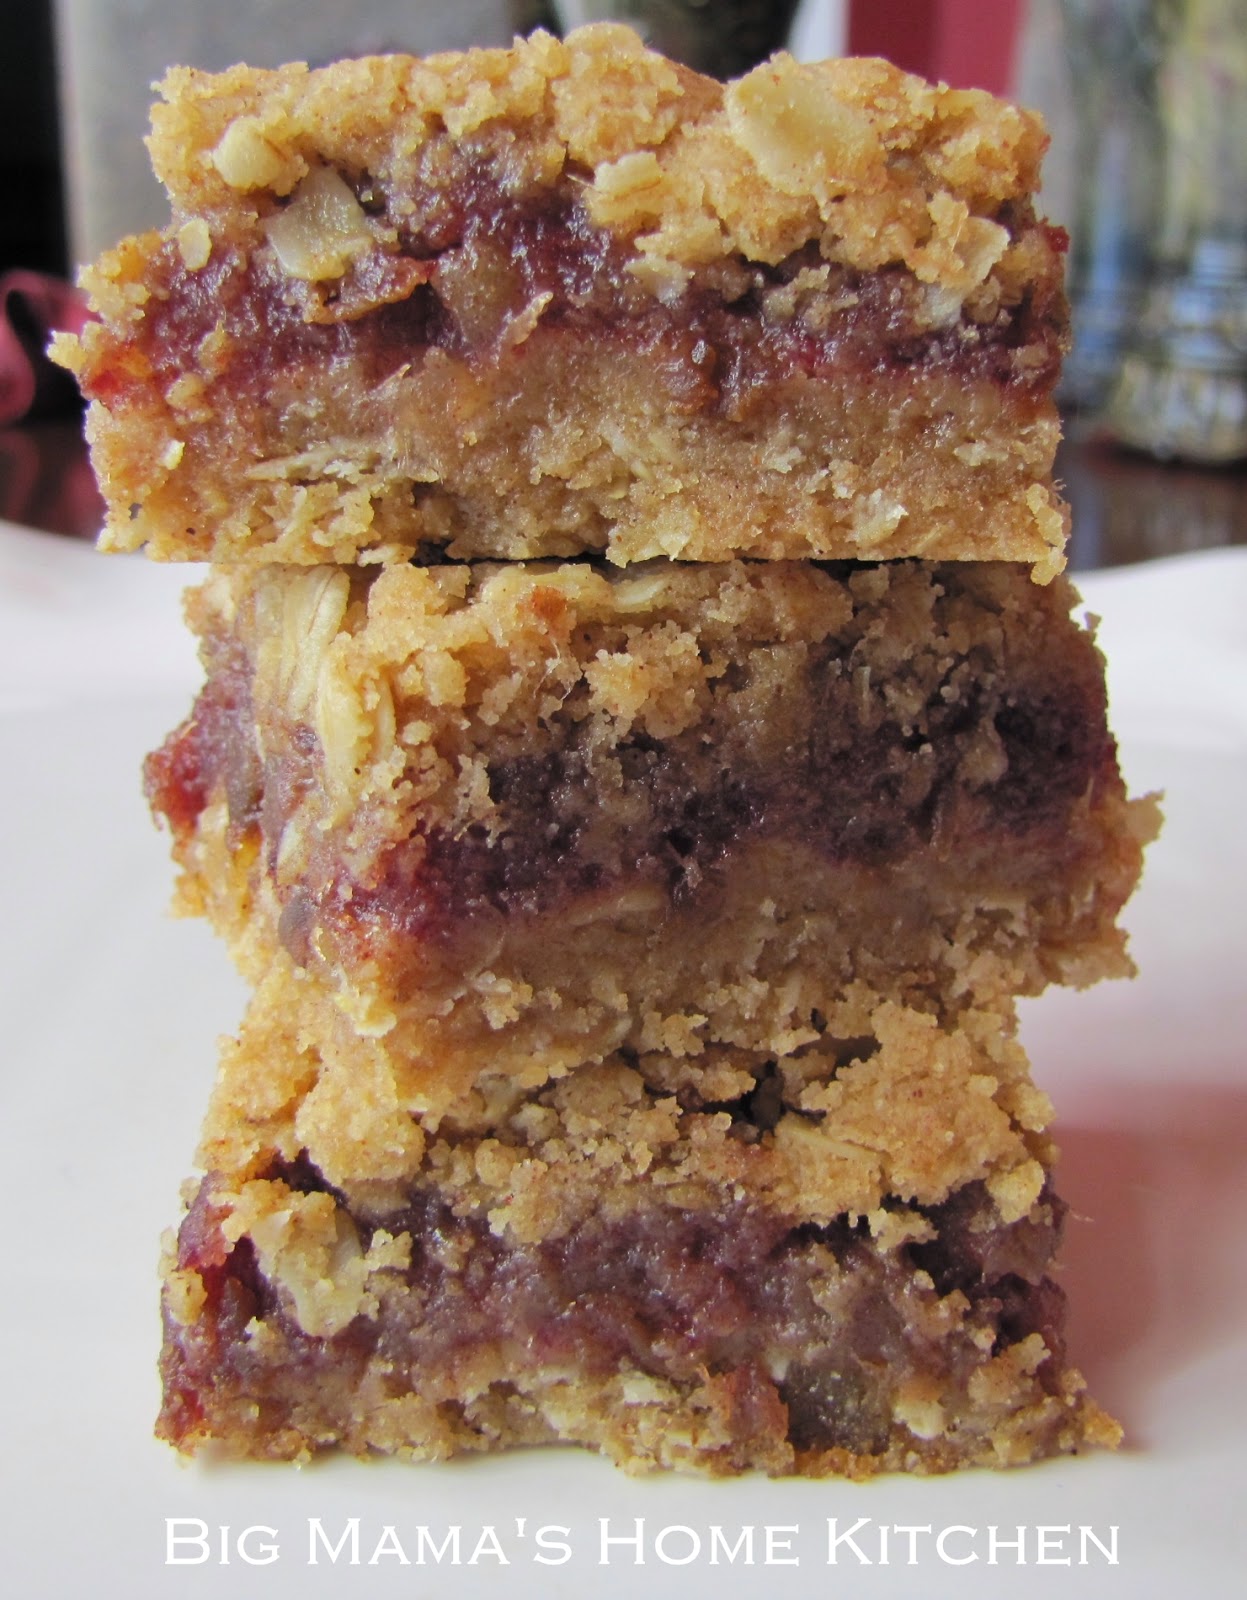
Life finally slowed down and the dates caught my eye every time I opened the freezer door.  I found this recipe for Classic Date Bars at epicurious.com and decided to try it out.  Oh my gosh, they are so moist and delicious!  I can't wait to make them for my Mom.  These bars are quick and easy to make and really showcase the Medjool dates.


Ingredients:

1 1/2 cups water
1 1/2 cups fresh Medjool dates, pitted and chopped
  • 1 teaspoon vanilla extract

  • 1 1/2 cups all purpose flour
  • 1 cup light brown sugar, packed
  • 1 cup old-fashioned oats
  • 1 1/2 teaspoons ground cinnamon
  • 1/2 teaspoon baking soda
  • pinch of salt
  • 3/4 cup (1 1/2 sticks) unsalted butter, diced, room temperature

  • Preheat oven to 350 degrees.  Spray an 8x8 inch baking pan with non-stick cooking spray.  

    In a medium saucepan, bring 1 1/2 cups water to a simmer. Add the dates and simmer until very soft and thick, stirring occasionally, about 10 minutes. Cool to room temperature. Stir in vanilla.

    In a large bowl, stir together flour, brown sugar, oats, cinnamon, baking soda, and salt.  Add butter and use pastry cutter or hands to work into dry mixture until moist clumps form. 

    Press half of oat mixture evenly over bottom of prepared pan. Spread date mixture over. Sprinkle with remaining oat mixture and press gently to adhere. Bake until brown at edges and golden brown and set in center, about 40 minutes. Cool completely in pan on rack. Cut into bars and serve.  Enjoy!


Monday, February 13, 2012

Skinny Chicken Parmesan


Chicken parmesan is one of my favorite Italian dishes.  It's great when I can feed my family a healthier version without compromising the taste.  I used a combination of Panko and Italian breadcrumbs to get the nice crispy outer layer.  The chicken is baked in the oven on a rack so both sides get crispy.  It is then topped with a simple homemade marinara and reduced fat finely shredded mozzarella cheese.  It's the perfect meal when served with a greek side salad drizzled with light balsamic vinaigrette.  This dish was inspired by Leslie's post over at The Hungry Housewife.

Chicken Ingredients:

4 boneless skinless chicken breasts (about 20 oz)
1/4 cup whole wheat flour (or more if needed)
3 egg whites
3/4 cup panko breadcrumbs
1/4 cup Italian breadcrumbs
1/4 tsp garlic powder
1/2 tsp oregano
reduced fat finely shredded mozzarella cheese ~ top after baking

Preheat oven to 400 degrees.  Line a baking sheet with foil and set a baking rack on top.

Add the flour to a pie dish.  Add the egg whites to another pie dish.  Add the panko, Italian breadcrumbs, garlic powder, and oregano to another pie dish and stir together.

Put each piece of chicken in the flour to coat both sides, into the egg whites, then into the breadcrumbs.  Place coated chicken onto prepared baking sheet.  Spray or drizzle with extra virgin olive oil. 

Bake for 25 minutes, or until chicken is cooked through and no longer pink.  Notice the chicken was not pounded out thin, so make sure to cook it through.  You can turn on the broiler if you want the coating to brown at the last minute.  Don't walk away because it will burn easily.

Easy Marinara:

1 T extra virgin olive oil
1/2 yellow onion, chopped
2 garlic cloves, minced
1 - 15 1/2 oz can tomato sauce
1 - 15 oz can petite diced tomatoes
1 tsp Italian seasoning
1/4 tsp garlic powder
kosher salt, to taste
black pepper, to taste
pinch red pepper flakes

In a small pan over medium heat, add the olive oil and saute onions for 5 minutes.  Add the garlic and cook another minute.  Add the tomato sauce, diced tomatoes, and seasonings.  Stir well and bring to a simmer.  Turn heat down to low and simmer for 20 minutes, stirring occasionally.  This can be made while the chicken is cooking.

When ready to serve, plate up the chicken and top with marinara and reduced fat mozzarella cheese.  Enjoy!

Thursday, February 9, 2012

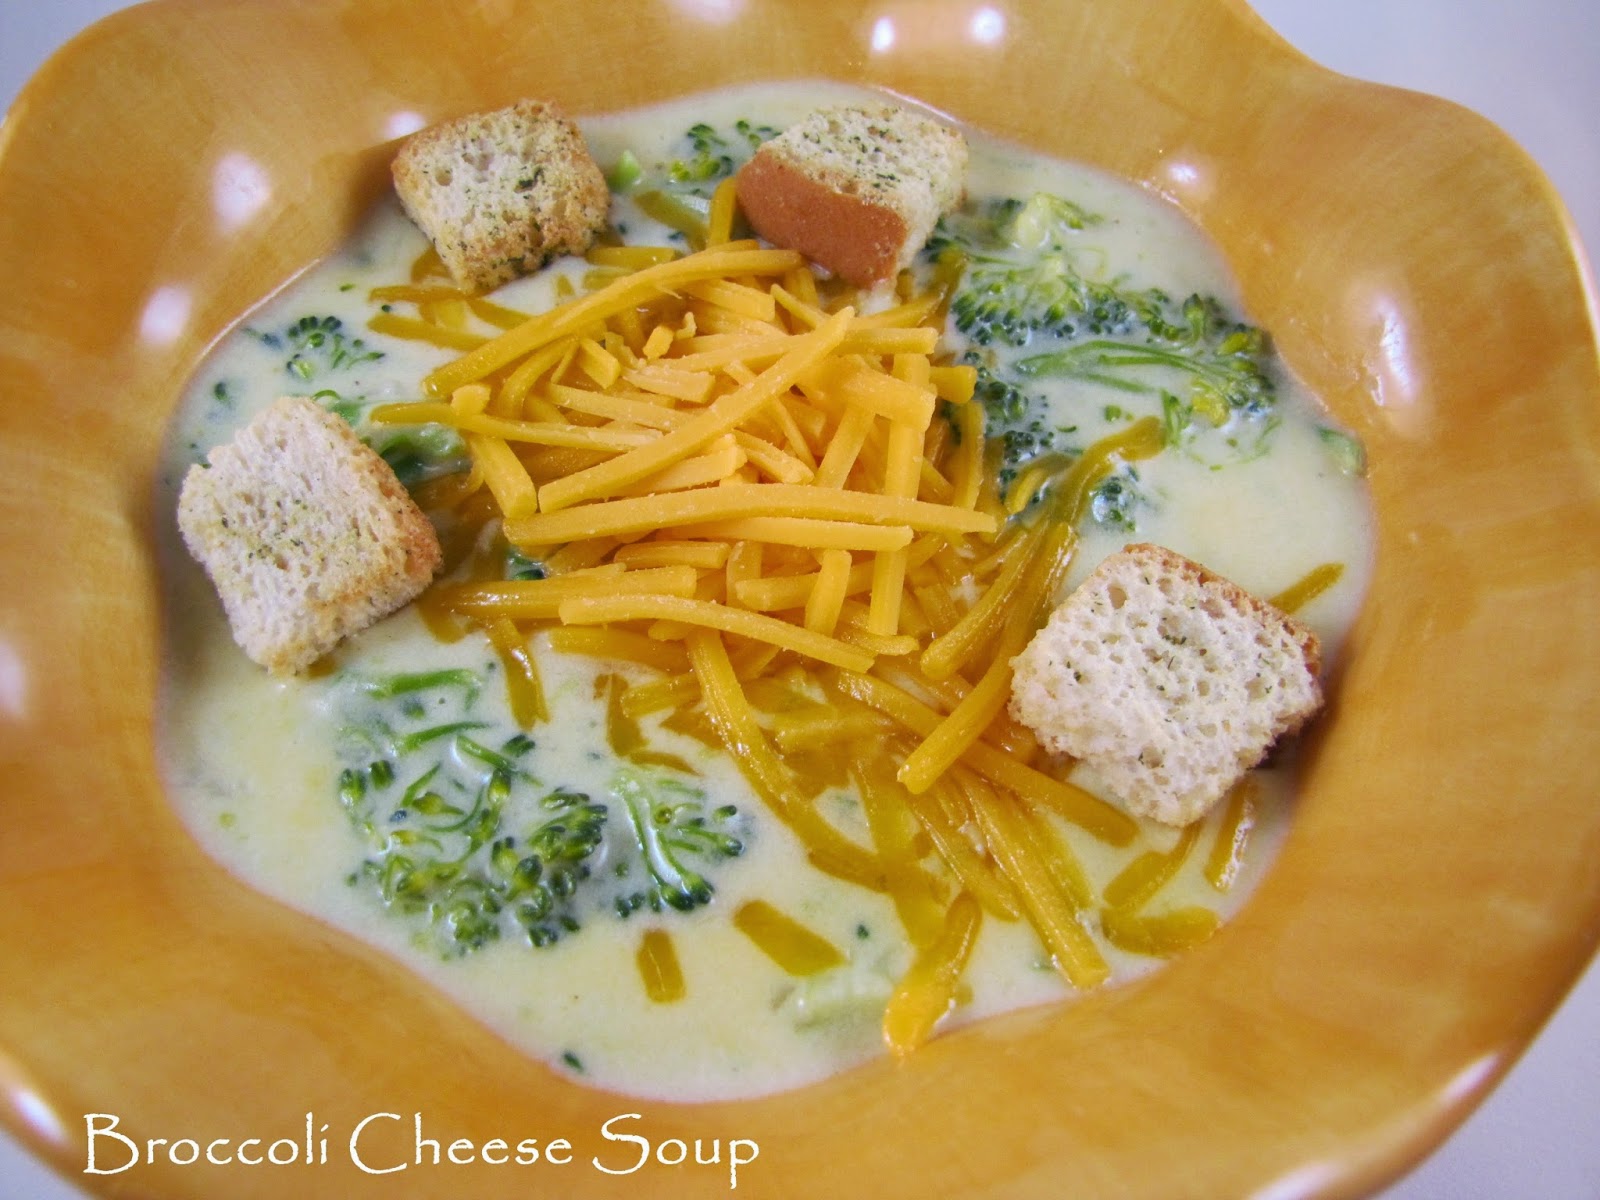
Broccoli Cheese Soup


This is my husband's favorite creamy soup, so I thought it was about time I made it for him. It truly is a one pot meal and so easy to make, which means I will be making it more often. This recipe is a copycat recipe from Panera's Broccoli Cheese Soup.

Ingredients:

1 T olive oil
1/2 yellow onion, chopped
2 cloves garlic, minced
1/4 cup butter
1/4 cup flour
2 cups half n half
2 cups chicken broth
3 stalks broccoli, cut into florets
pinch nutmeg
1/4 tsp garlic powder
8 oz grated sharp cheddar cheese (2 cups)
kosher salt, to taste
black pepper, to taste

In a large soup pot, over medium heat add the olive oil and saute the onion for 5 minutes.  Add the garlic and cook another minute.  Melt the butter, then add the flour and whisk for 3 minutes.  Add the half n half and chicken broth and whisk to combine.  Turn the heat to low and simmer for 20 minutes, stirring occasionally.  

Add the broccoli and cook for another 20-25 minutes, or until broccoli is tender.  Add the nutmeg, garlic powder, and cheddar cheese.  Stir to combine.  Taste and season with salt and pepper.  Use a potato masher to break up some of the broccoli, leaving some broccoli in florets.  This will give a nice creamy broccoli flavor with good bites of broccoli.  Serve in soup bowls and top with shredded cheese and croutons.  Enjoy!

Recipe adapted from Food.com

Tuesday, February 7, 2012

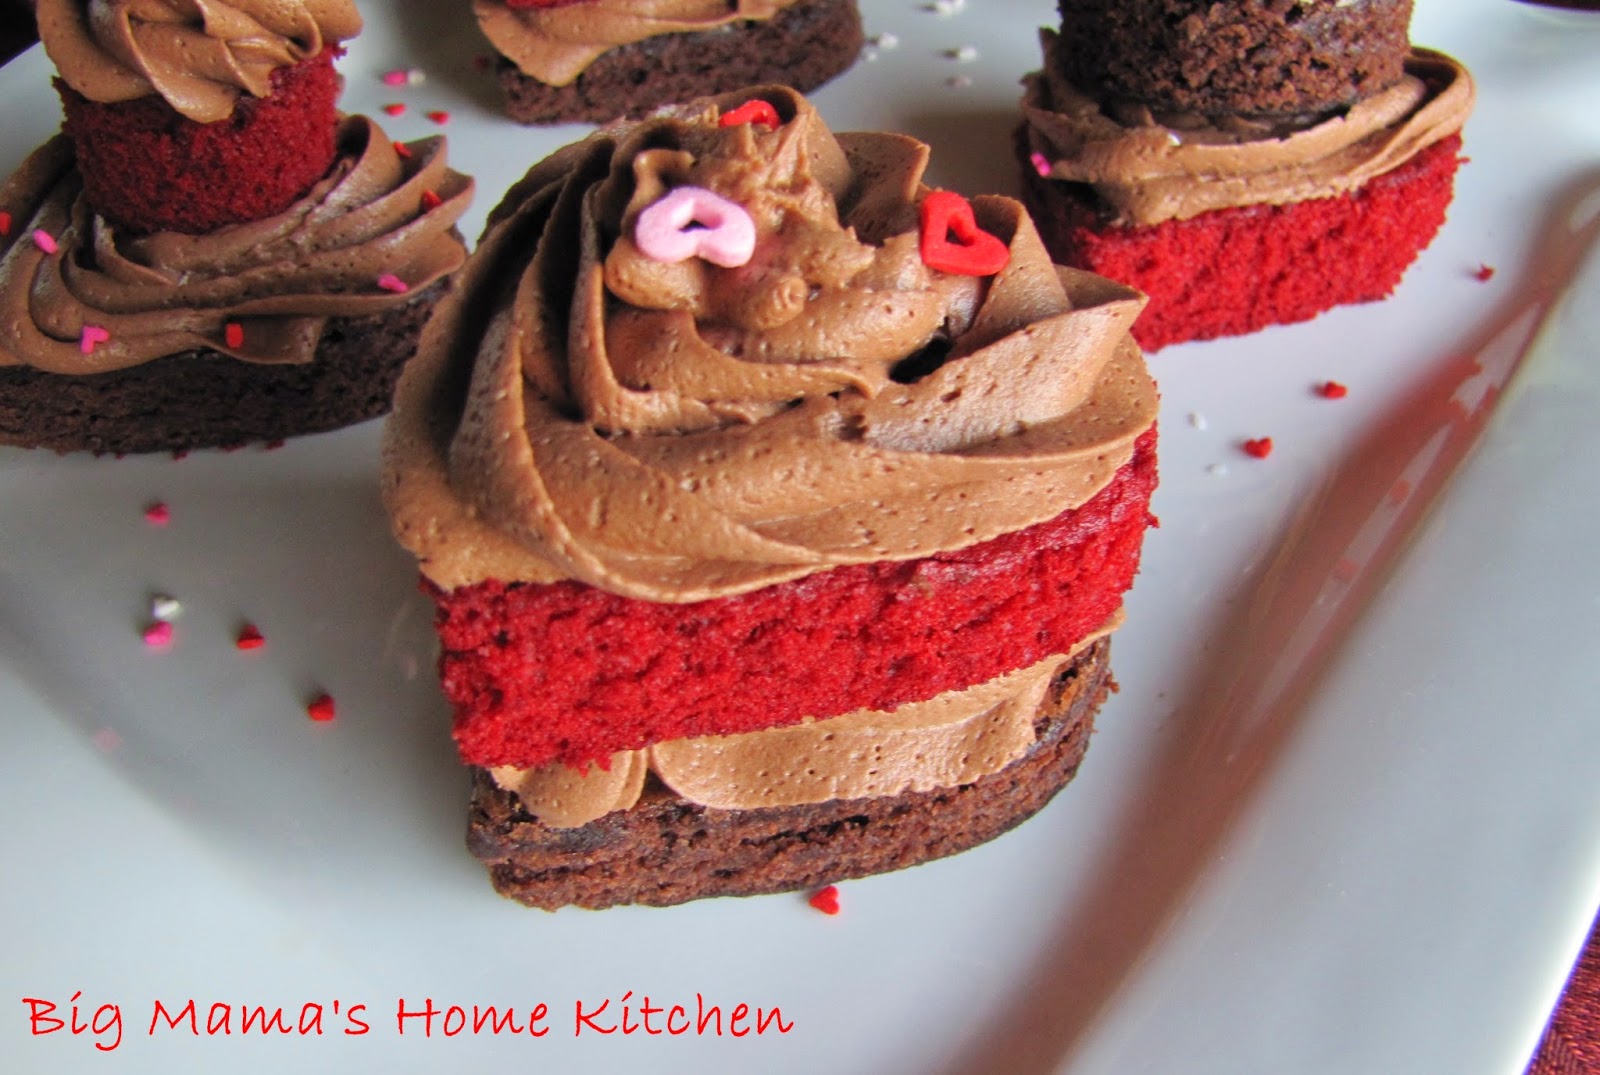
Valentine's Day Red Velvet and Brownie Cakes


Valentine's Day is next week so I created a dessert that is perfect to make for your loved ones.  I used boxed brownie mix and red velvet cake mix to speed up the process, but you can use your favorite brownie and red velvet cake recipes.  I used my favorite homemade chocolate buttercream frosting to pipe between the layers and on top. 

Ingredients:

1 - box Red velvet cake mix plus ingredients to make (water, oil and eggs)
1 - box Brownie mix plus ingredients to make (water, oil, and eggs)

Bake the Red velvet cake at 350 degrees for 12-14 minutes in a 16x12x1 inch parchment lined sheet pan (leave overhang to lift baked caked out easily).

Bake the Brownies at 350 degrees for 20-22 minutes in a 9x13 inch parchment lined cake pan (leave overhang to lift baked brownies out easily).

Let cool completely in pans on wire rack.  Remove the cake and brownies by gently lifting using the parchment paper.

Use heart shaped cookie cutters to cut out shapes.  You could use different sizes too.  You will only need 1/2 of the red velvet cake if you plan on using brownies on all of them. 

Note:  I made Red Velvet Cake Truffles with the leftover cake.  All you have to do is add just enough canned cream cheese frosting to bring it all together (I used about 1/3 can).

Chocolate Buttercream Frosting:

1 stick unsalted butter, room temperature
3 cups powdered sugar, sifted
1/4 cup cocoa powder, sifted
1 tsp pure vanilla extract
1/4 cup milk (maybe less, maybe more)

In a large stand mixer bowl, beat the butter for a minute. Add the sifted powdered sugar and cocoa powder and mix until combined. Add the vanilla extract, then slowly add the milk, a little at a time, until the right consistency is achieved. Piped frosting needs to be thicker than frosting that will be spread using offset spatula. Beat on medium speed for 3 minutes until thick and fluffy.

Assemble the brownies and cakes and pipe or spread frosting in between the layers and on top.  Decorate with Valentine's sprinkles.  Store in airtight container lined with wax paper at room temperature.  Enjoy!

Thursday, February 2, 2012

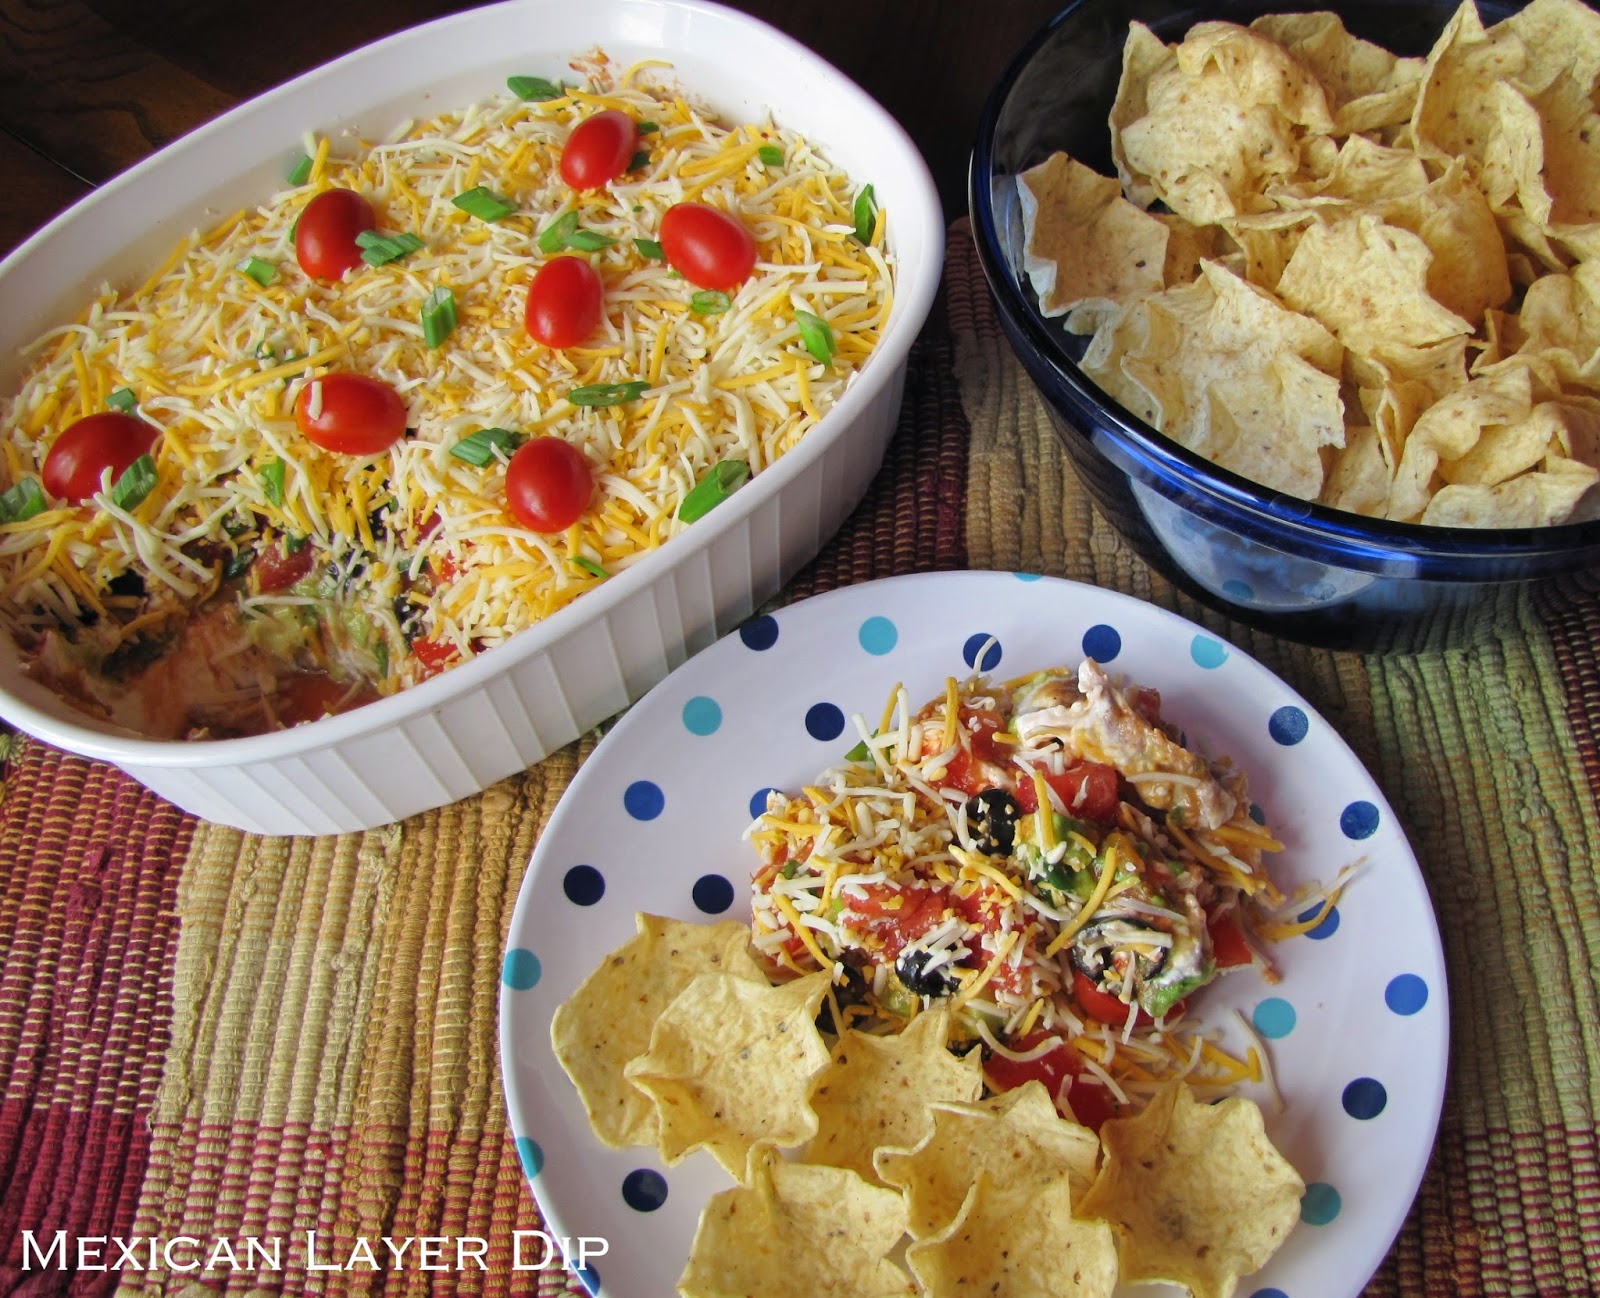
Mexican Layer Dip


This Mexican Layer Dip has been a family favorite for years.  You can prepare it in the morning and refrigerate until ready to serve. 

Ingredients:

1 can refried beans - stir in 1 T taco seasoning
1 (16 oz) container sour cream
1/4 cup Salsa
2 avocados, chopped - squeeze fresh lemon juice and toss with salt and pepper
4 roma tomatoes, chopped
1 small can sliced black olives
2 green onions, chopped
Pickled jalapenos, to taste, chopped
2 cups finely shredded Mexican blend cheese

Spray large casserole dish with non-stick cooking spray.  Layer ingredients as listed beginning with the refried beans.  Garnish with green onion tops and tomatoes.  Cover and refrigerate until ready to serve with tortilla chips or tortillas.  Enjoy!
Related Posts with Thumbnails